
Candy Eyes are a fun, adorable and easy to use way to add personality to your baked goods and desserts. Perfect for cake pops, cookies and other holiday treats! These edible eyeballs are simple to make at home with just a handful of ingredients. They come in small, medium and large sizes, so you can decorate your treats with realistic or playful funny faces, making them great for Halloween, birthdays or any festive occasion. You can easily make them vegan and dairy free as well!

I make them with just 2 ingredients; white chocolate and mini dark chocolate chips! These edible eyeballs are a quick DIY decoration for my baked goods and everyone comments on them whenever I take the time to make them. You really don't need to waste money buying pre-made versions; they're simple, cute and completely customizable. With these simple ingredients, you can make seasonal or everyday desserts extra festive, fun and full of personality. If you like making your own decorations, check out my Halloween Bark for another fun baking project. If you love this fun recipe for Candy Eyes, try out my Halloween Bark recipe. These little White Chocolate Ghosts and Ghost Brownies are super cute, too. For more Gluten Free Fall Desserts I can't live without, here's a round-up.

Why You'll Love This Recipe
Adorable and fun, these Candy Eyes instantly bring character to cupcakes, cookies and cake pops.
I find them easy to use and perfect for beginners. I'll often share this recipe with friends and family and everyone gets it right.
Customizable sizes, make small, medium or large eyes depending on what you need them for.
I love that they're made with minimal ingredients. All you need is 2 ingredients to make this super simple DIY project.
Festive and funny, they are great for Halloween, birthdays or any celebration.
I find they look pretty realistic and cute. They honestly make my baked goods look professional and playful.
There's no need to buy pre-made edible eyeballs, making a homemade version saves money and is quick and easy.
Equipment Needed
You'll need a small spoon and a baking sheet for this recipe. Also an airtight container for storage is super important.
Ingredients Needed
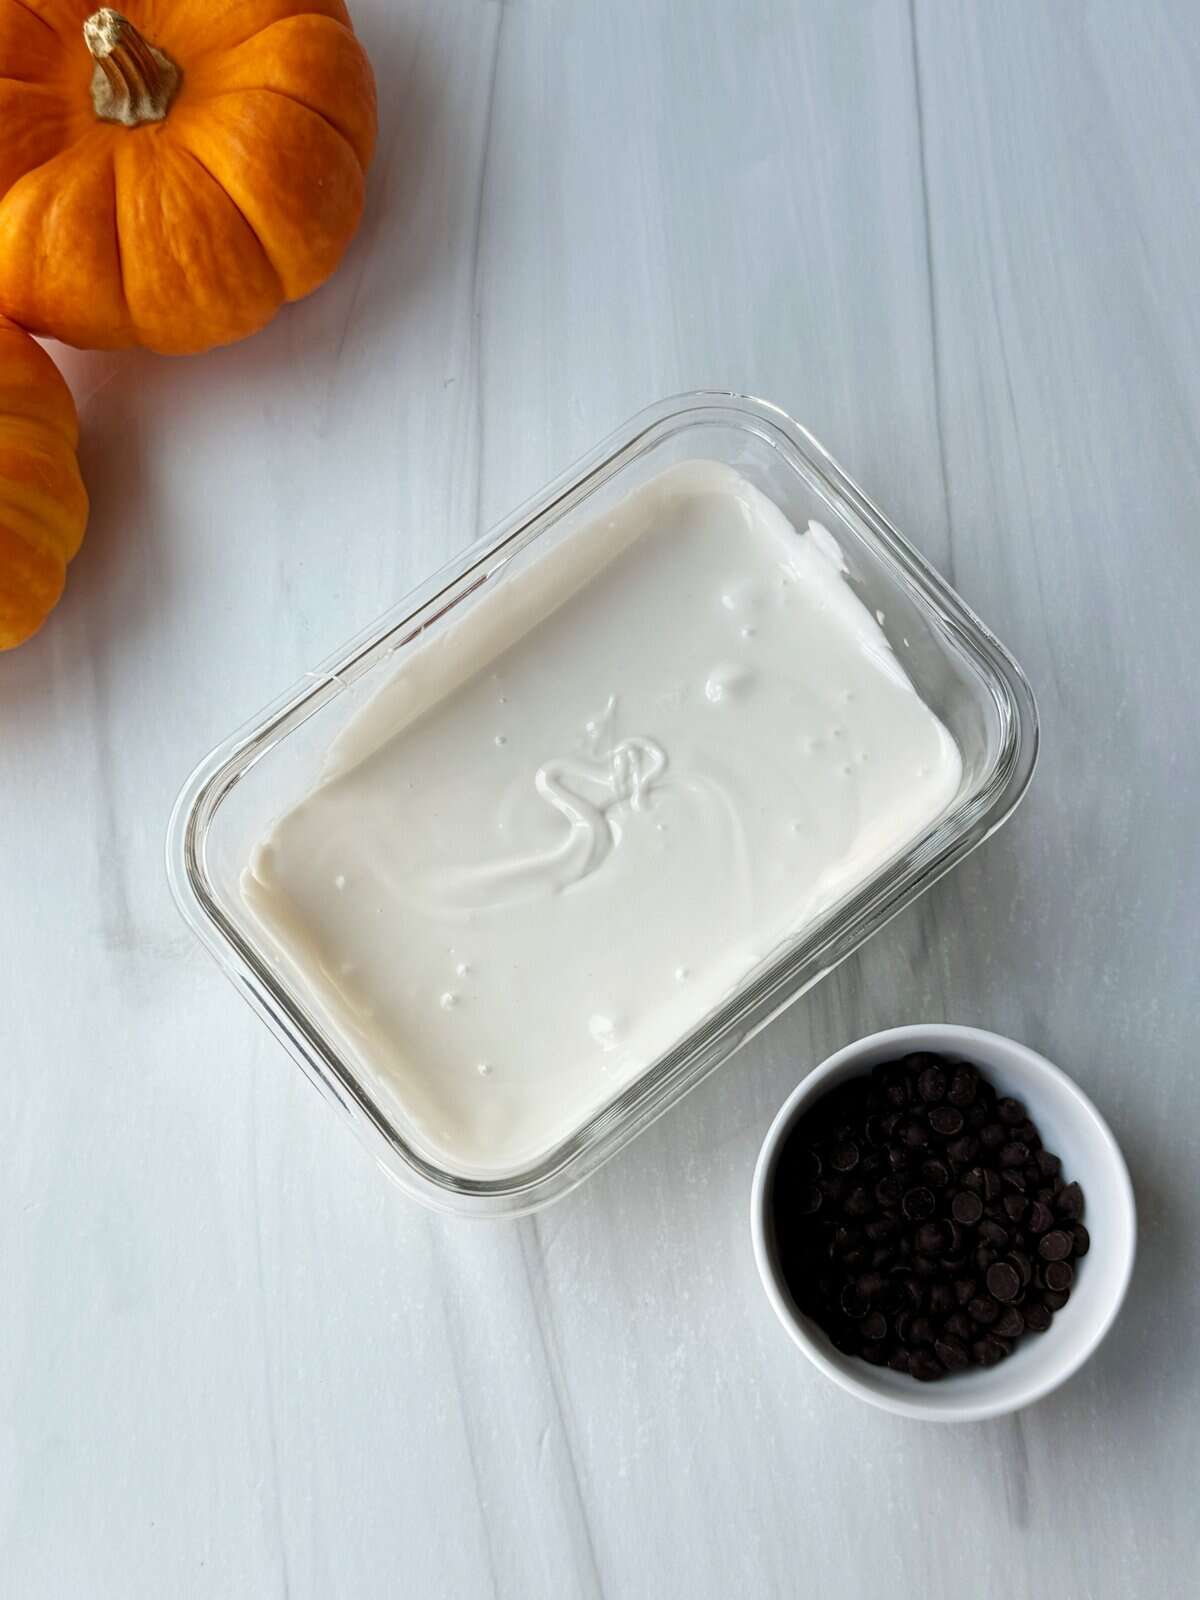
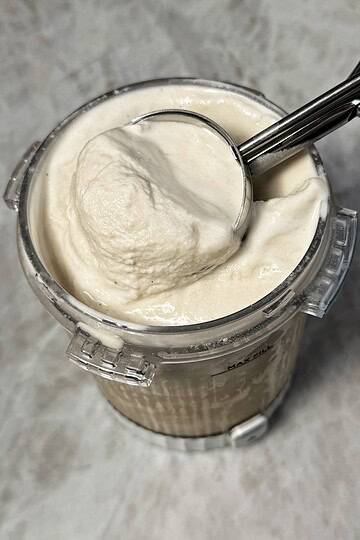
White chocolate chips: These form the base of the Candy Eyes. Use any brand of white chocolate that you usually bake with. You'll just need one that melts easily and sets hard. Use a chocolate that sets white rather than yellowy/creamy in color.
Mini dark chocolate chips: Make the pupils and they look pretty realistic. Dark chocolate looks better than milk chocolate, in my opinion.
Step By Step Instructions
Step 1: Prepare all your ingredients and gently melt the white chocolate until smooth.
Step 2: Cover a baking sheet with parchment paper.
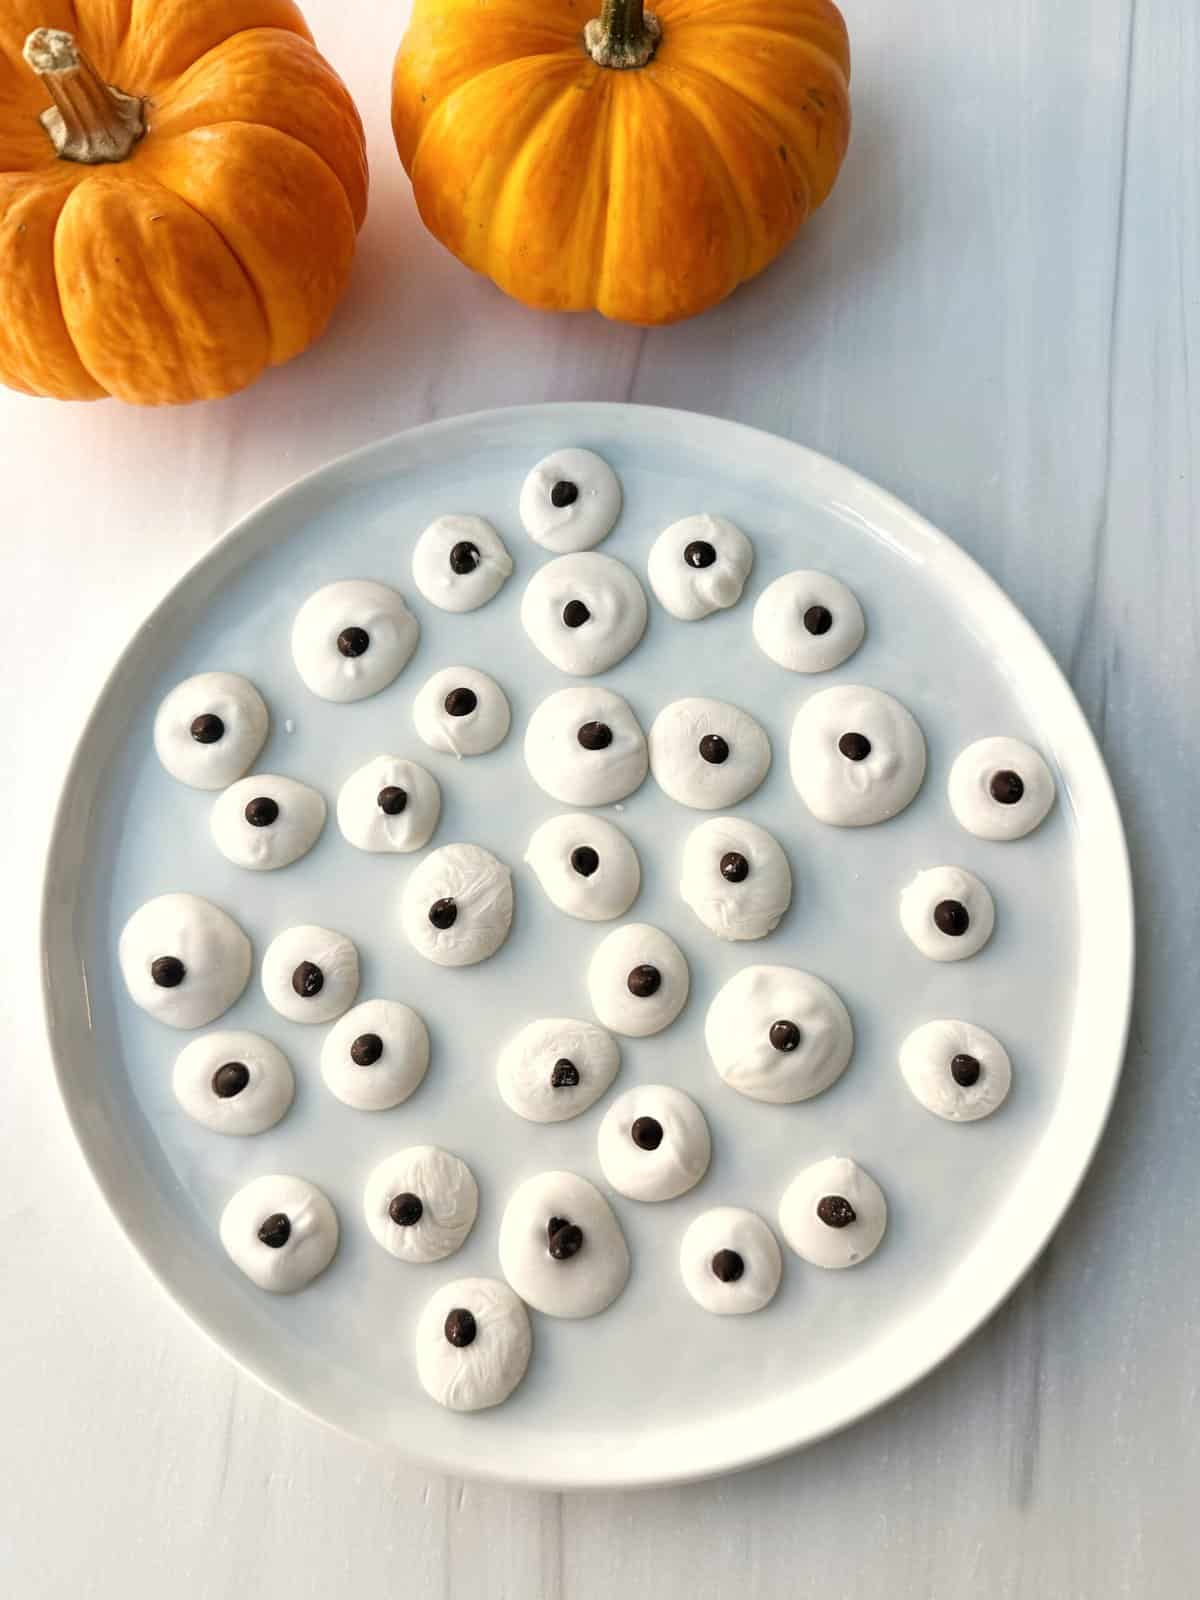
Step 3: Use a small spoon to drop round circles of melted white chocolate onto the parchment.
Step 4: While the chocolate is still soft, press a mini dark chocolate chip into the center of each circle to form the pupil.

Step 5: Let your candy eyes set completely before using them to decorate cake pops, cookies or other desserts.

Storage
Once hardened, I can then store candy eyes in an airtight container at room temperature for up to 2 months.
You can also freeze them in freezer safe bags for about 2 months. You'll need to make sure they don't break up in the freezer so be careful with where you place them.
Keep them in a cool, dry place to prevent them melting or sticking together.
Variations
Make small, medium or large sizes depending on what you want to use them for.
Try dairy free white chocolate to make these edible eyeballs suitable for vegan treats.
Mix into cookies, cupcakes or cake pops for a batch of fun and adorable treats.
Use mini candy melts or tinted white chocolate for bright blue, green or red pupils.
Add tiny orange or green candy dots around the eyes for a Halloweeny look.
Dust the white chocolate with edible glitter.
Sometimes I'll flavor my Candy Eyes by adding a drop of peppermint, almond or orange extract to the white chocolate.
Make larger eyes with a second layer of white chocolate for dimension and depth.
How To Serve
Candy eyes are perfect for:
- As part of my Halloween bark, Halloween cookies or Gluten Free Cake Pops to make them spooky.
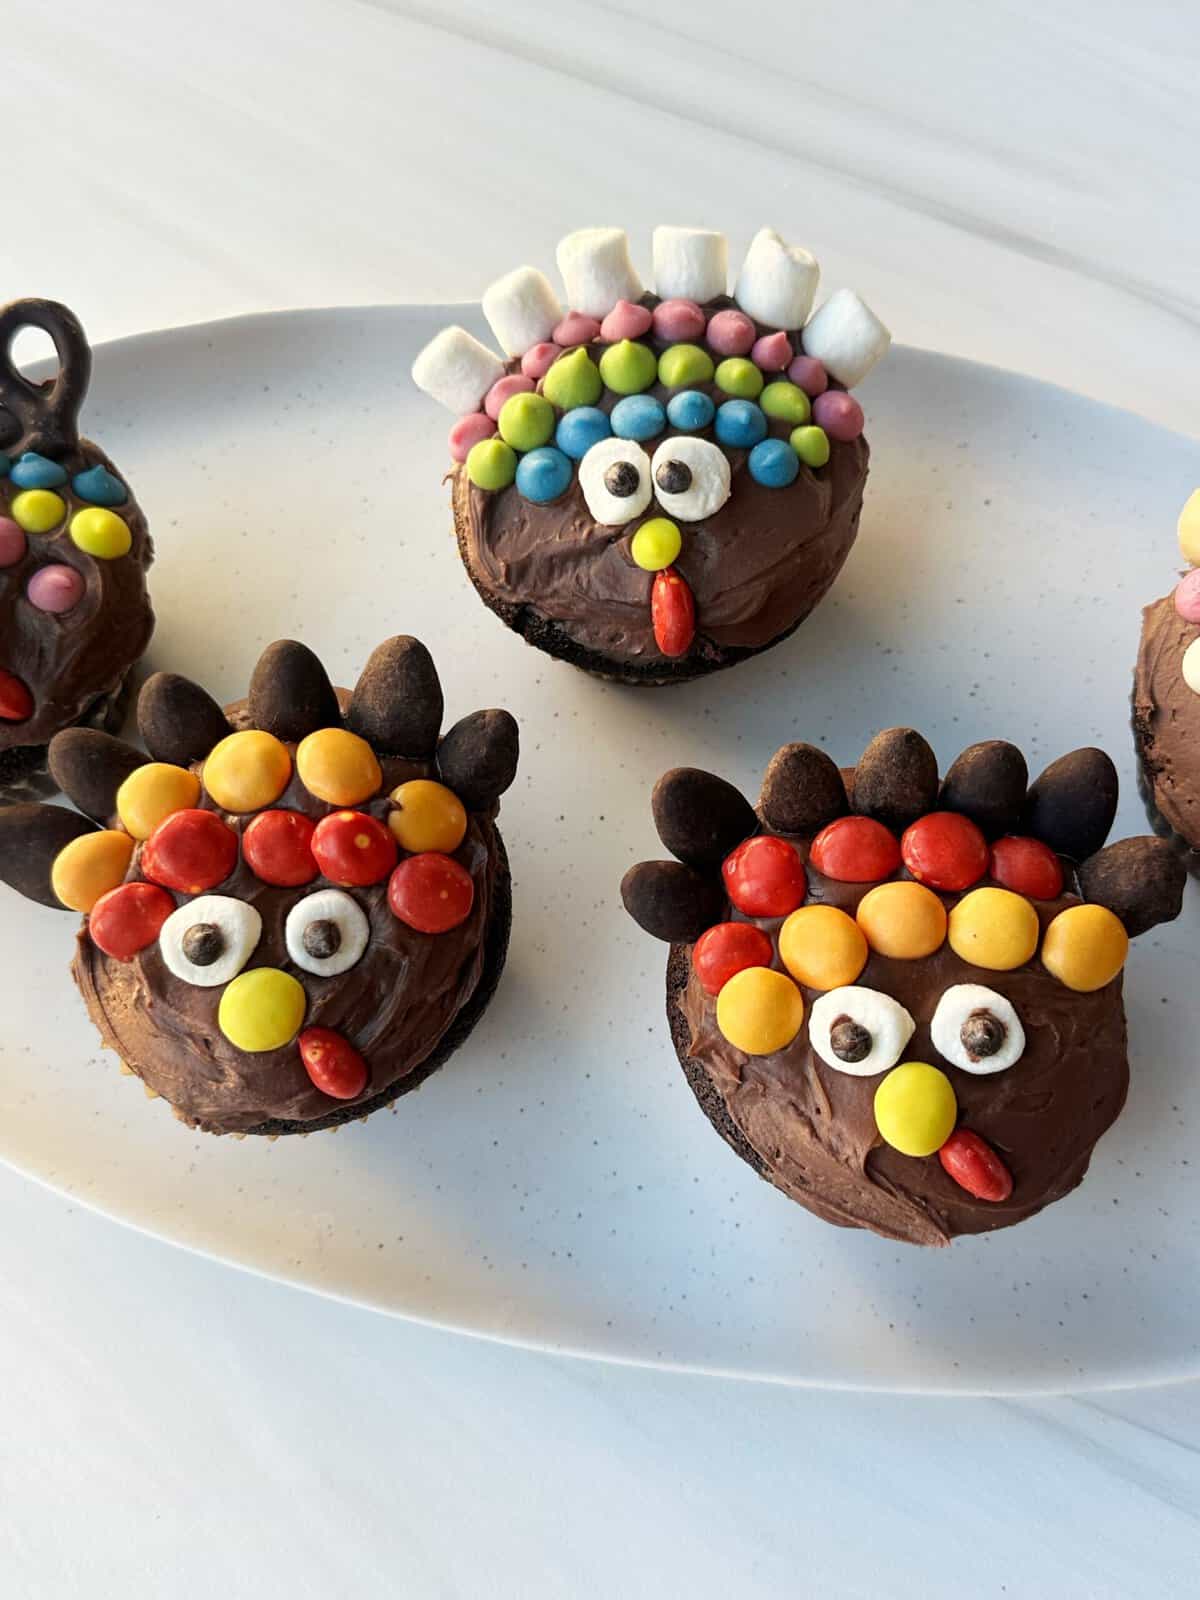
- Birthday or Thanksgiving cupcakes like my Turkey Cupcakes
- Seasonal baking and party decorations
- Creating funny faces or festive baked recipes
Recipe FAQ
What is the shelf life of candy eyes?
Hardened candy eyes last for up to 2 months in an airtight container at room temperature. Pretty long, right?
How do I get candy eyes to stick to fruit?
Use a small dab of melted white chocolate or frosting to attach the eyes securely to fruit or other non baked treats.
Can I make these candy eyes dairy free?
Yes! Use dairy free white chocolate and mini dark chocolate chips that are labeled dairy free.
How do I prevent candy eyes from sticking together?
Layer them with parchment or wax paper and store in a dry, cool place to avoid sticking or melting.
Do candy eyes melt if baked?
Candy eyes hold up best when added after baking. If baked, the white chocolate will soften slightly, but the pupils usually stay in place.
Can I make different sizes?
Yes! I love doing this. You can pipe small, medium or large eyes depending on what you use them for.
Can I use candy eyes on non-baked treats?
Yes! They stick beautifully to fruit, marshmallows or chocolate bars with a dab of melted chocolate or frosting.
Related Recipes
Be sure to try these fun Halloween and fall ideas next:
If you make these Candy Eyes and love them, I would really appreciate a 5 star review! I also love seeing your creations so please tag me on Instagram or TikTok.
Want to Save This Recipe?
Enter your email & I'll send it to your inbox. Plus, get weekly gluten-free and dairy-free meal ideas and grocery lists delivered straight to your inbox every Friday!
By submitting this form, you consent to receive emails from Less with Laur

Candy Eyes
Equipment
- 1 small spoon
- 1 baking sheet
Ingredients
- 1 bag white chocolate chips
- Mini dark chocolate chips
Instructions
- Gather your ingredients.
- Melt the white chocolate.
- Using a small spoon, dot round circles of white chocolate onto the parchment paper. Stick a mini chocolate chip into each one.
- Let harden and use to decorate your favorite treats!

Lauren
Lauren