

This dairy-free Ninja Creami strawberry ice cream is fruity, delicious and made with only 4 ingredients. I've been dairy-free for 8 years, and I am on a mission to recreate every dessert and make it allergy-friendly and taste like real ice cream. I have learned that using coconut cream makes Ninja Creamis so thick and perfect, so that's what we're using in this recipe. It has enough fat to keep it creamy once it's frozen and churned, which is what a lot of other dairy-free recipes get wrong.
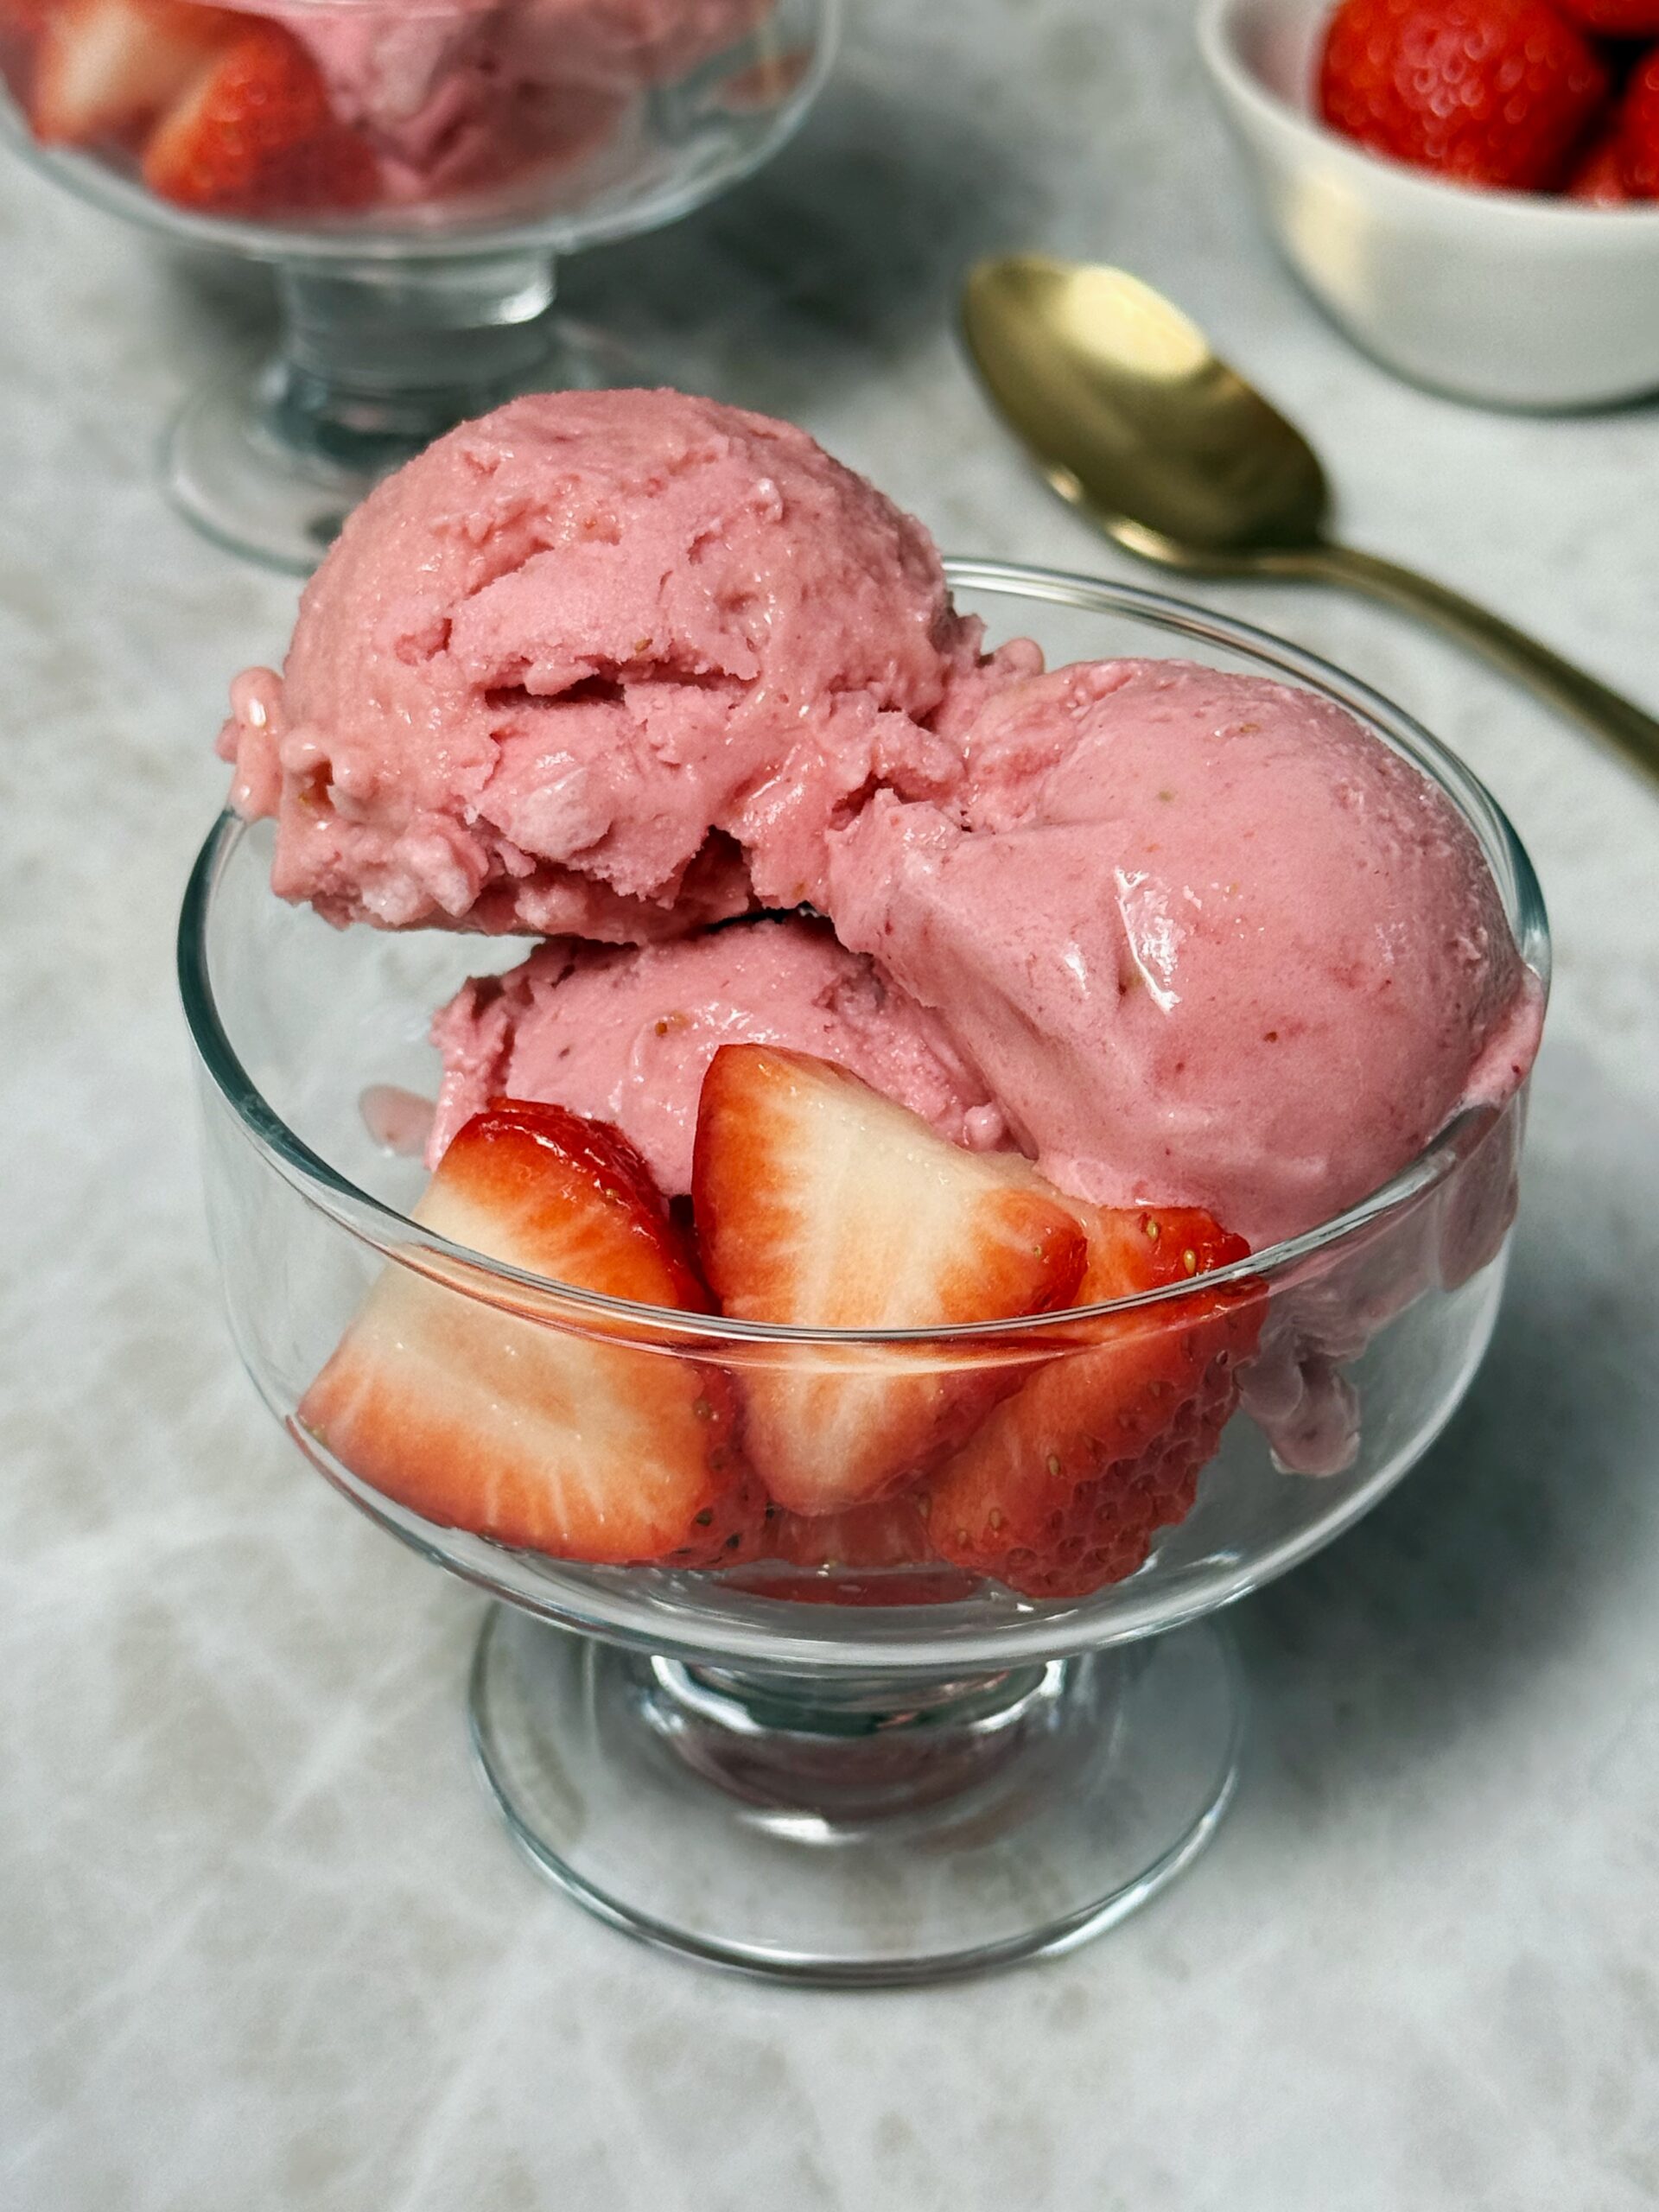
I have tried this recipe with both fresh and frozen strawberries and both work well, so don't worry if you don't have fresh strawberries on hand! If you are using frozen strawberries, you will want to let them thaw out a little before freezing it so the flavors meld together.
What I love the most about making Ninja Creamis at home is that you can also control the ingredients. My recipes are always made with simple and wholesome ingredients to make you feel your best. Be sure to also try my vanilla Ninja Creami ice cream and chocolate Ninja Creami ice cream!
Why You'll Love This Strawberry Creami
This strawberry Creami recipe is made with real strawberries and natural ingredients. There is no need for pudding mix, cooking or any complicated steps. Throw a few ingredients into your Creami pint and you have a sweet and nostaglic homemade summer treat!
I also love that Ninja Creamis are so customizable. You can mix it up with toppings, mix ins, protein powder or sweeteners. This strawberry flavor is fresh and delicious on its own, but I also love adding in chocolate chips or graham cracker to take it to the next level!
Ingredients You'll Need
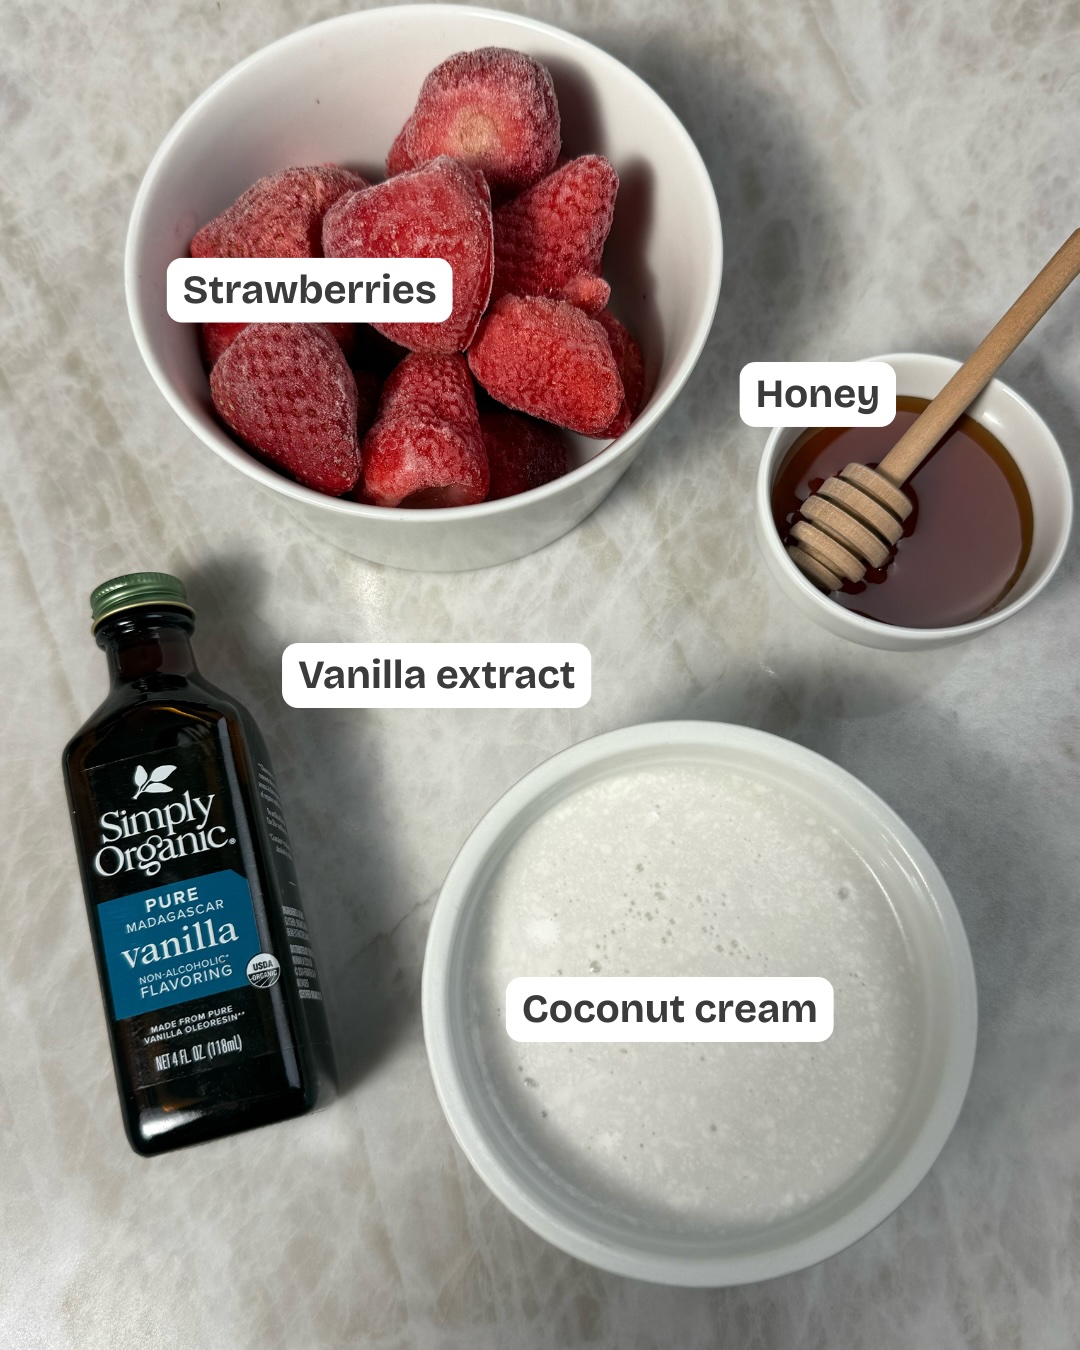
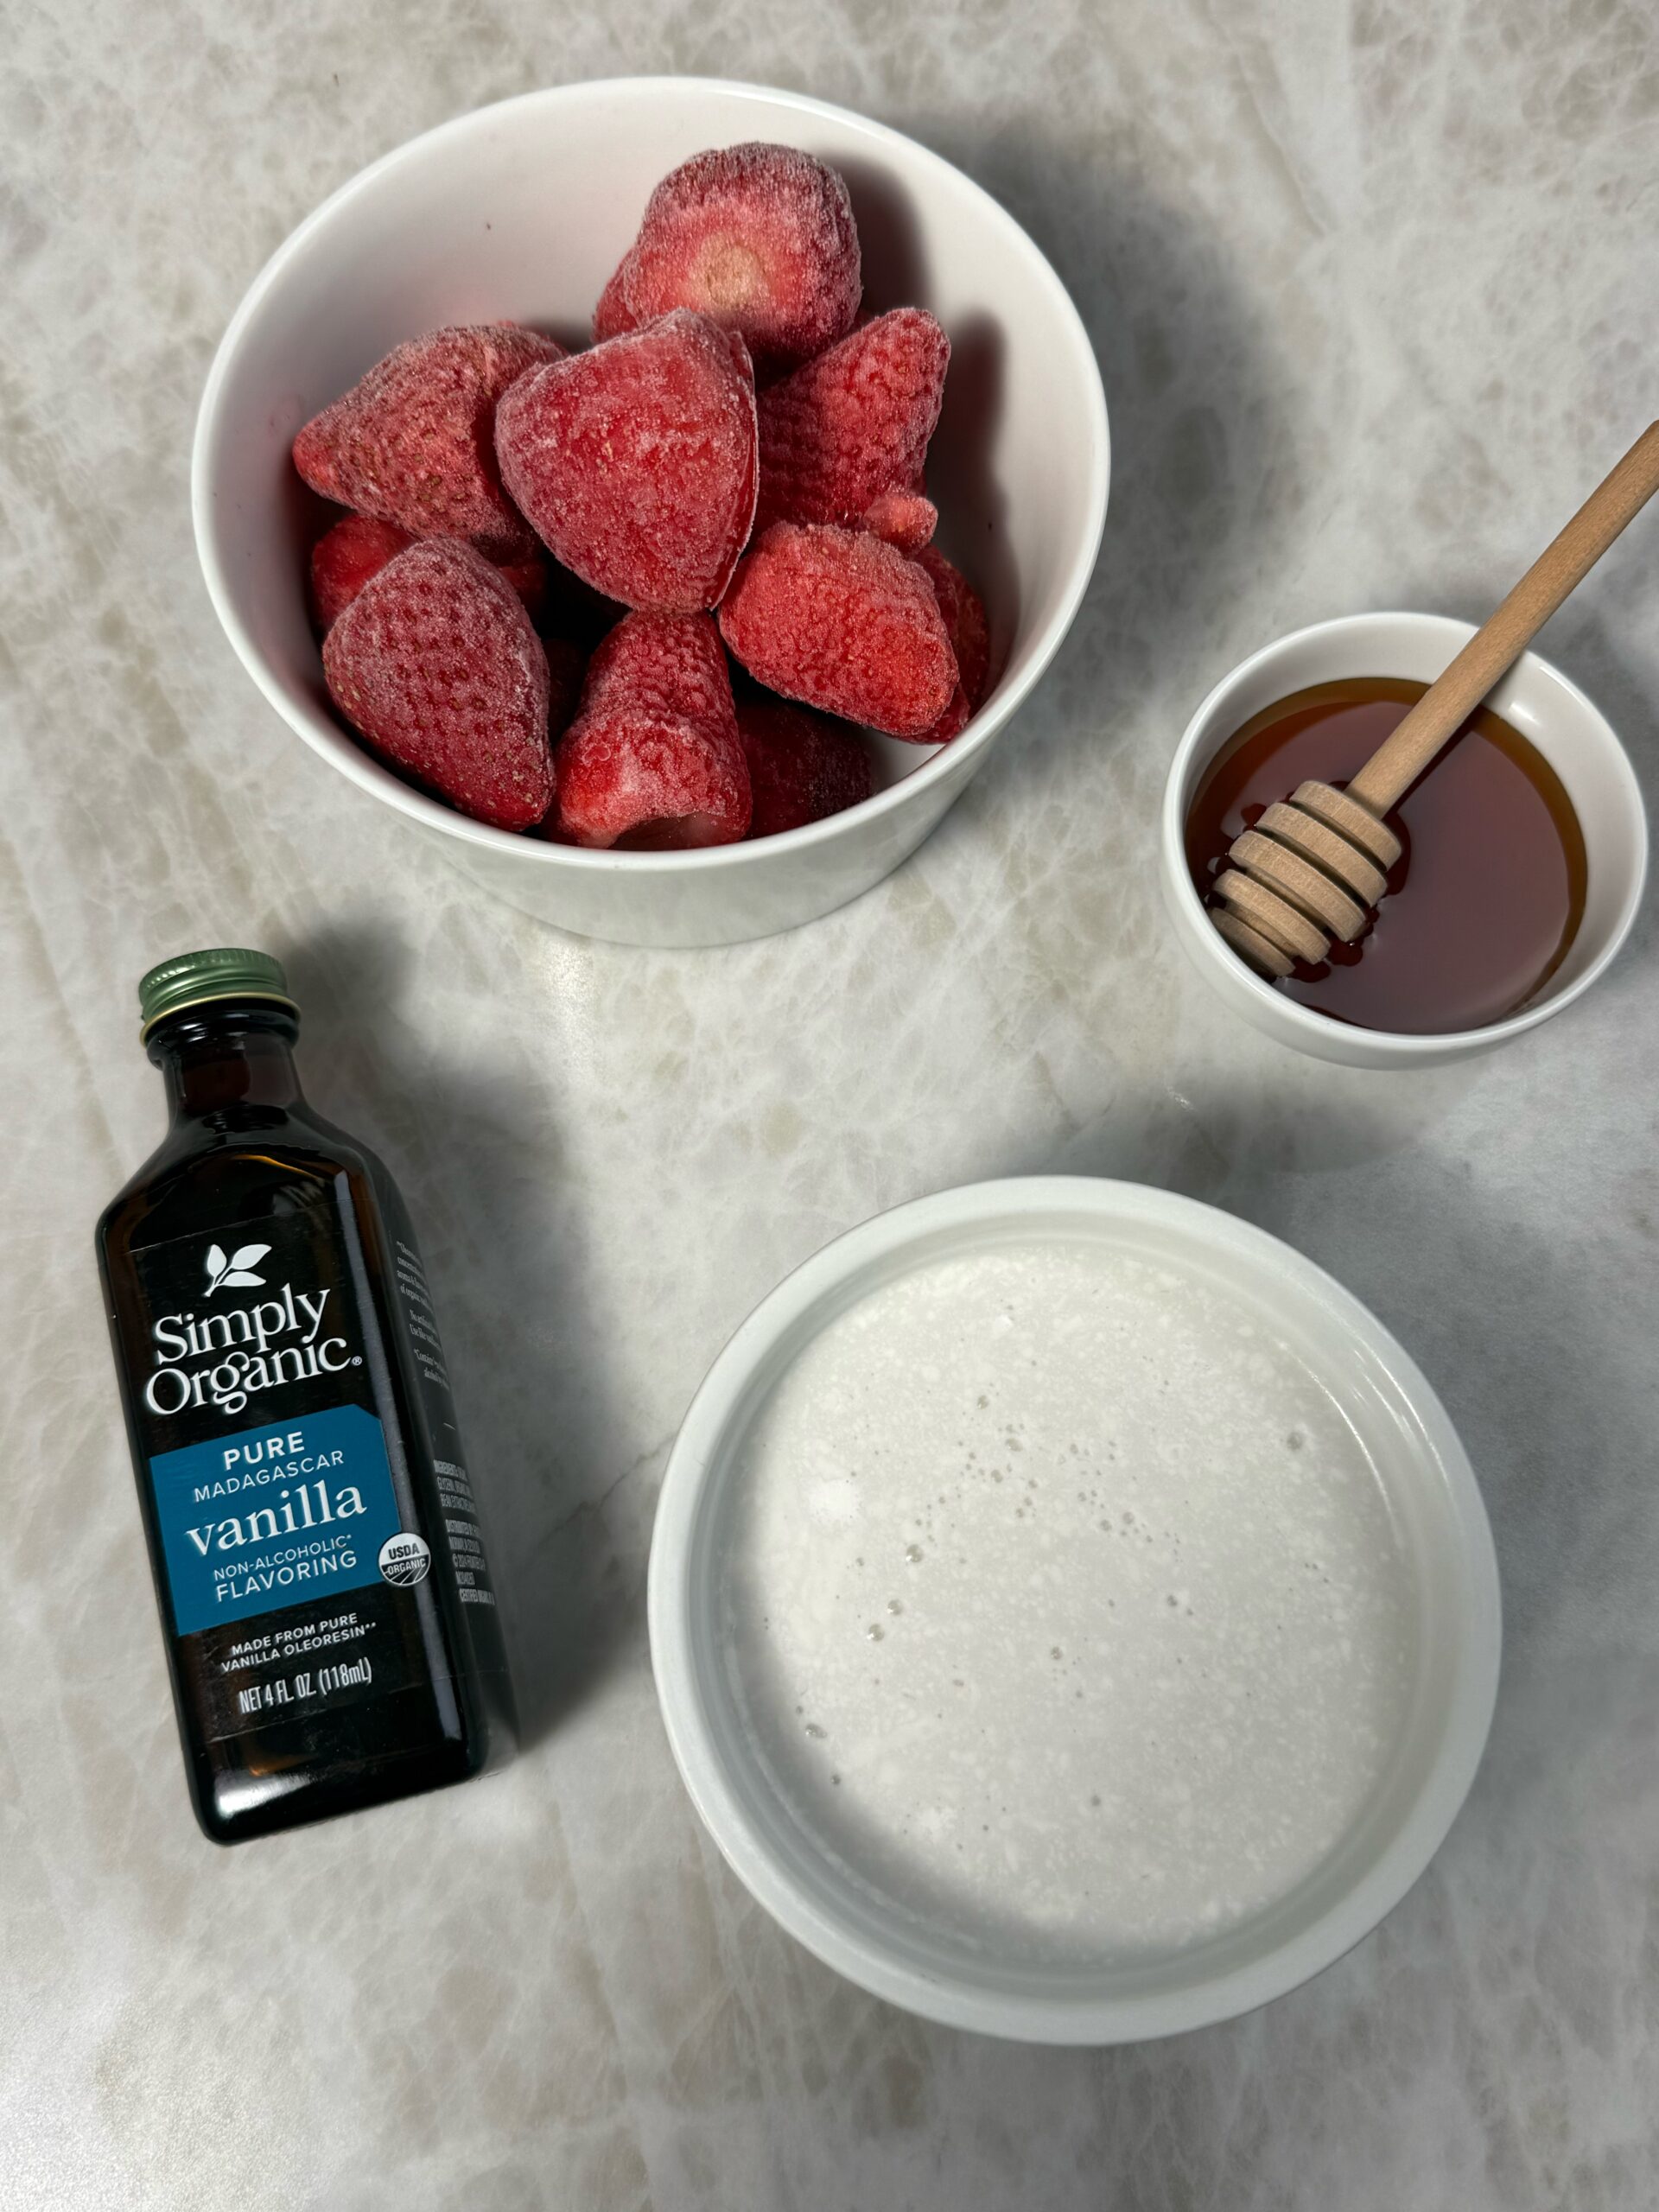
- Strawberries: You can use fresh or frozen strawberries here. Both will work! If you are using frozen strawberries, I recommend letting them thaw a little.
- Coconut cream: Coconut cream makes this ice cream super thick.
- Honey: A natural way to sweeten this dessert!
- Vanilla extract: Adds warmth and flavor.
Recipe Variations
- Mix-ins: The mix-in options are endless! For this strawberry flavor, I love mixing in chocolate chips, graham cracker, freeze dried strawberries or pistachios.
- Protein: This creami can be made with or without protein powder. I like to add a scoop of vanilla protein powder to make this dessert more nutrient-dense and curb any blood sugar spikes.
- Sweetener: I used honey in this recipe, but you can also use sugar, coconut sugar or maple syrup.
- Fruit: Try swapping out half of the strawberries for another fruit like kiwi or mango!
- Milk: You can also swap out half of the coconut cream for coconut milk or another dairy-free milk to lower the fat content.
How To Make Strawberry Ice Cream Ninja Creami
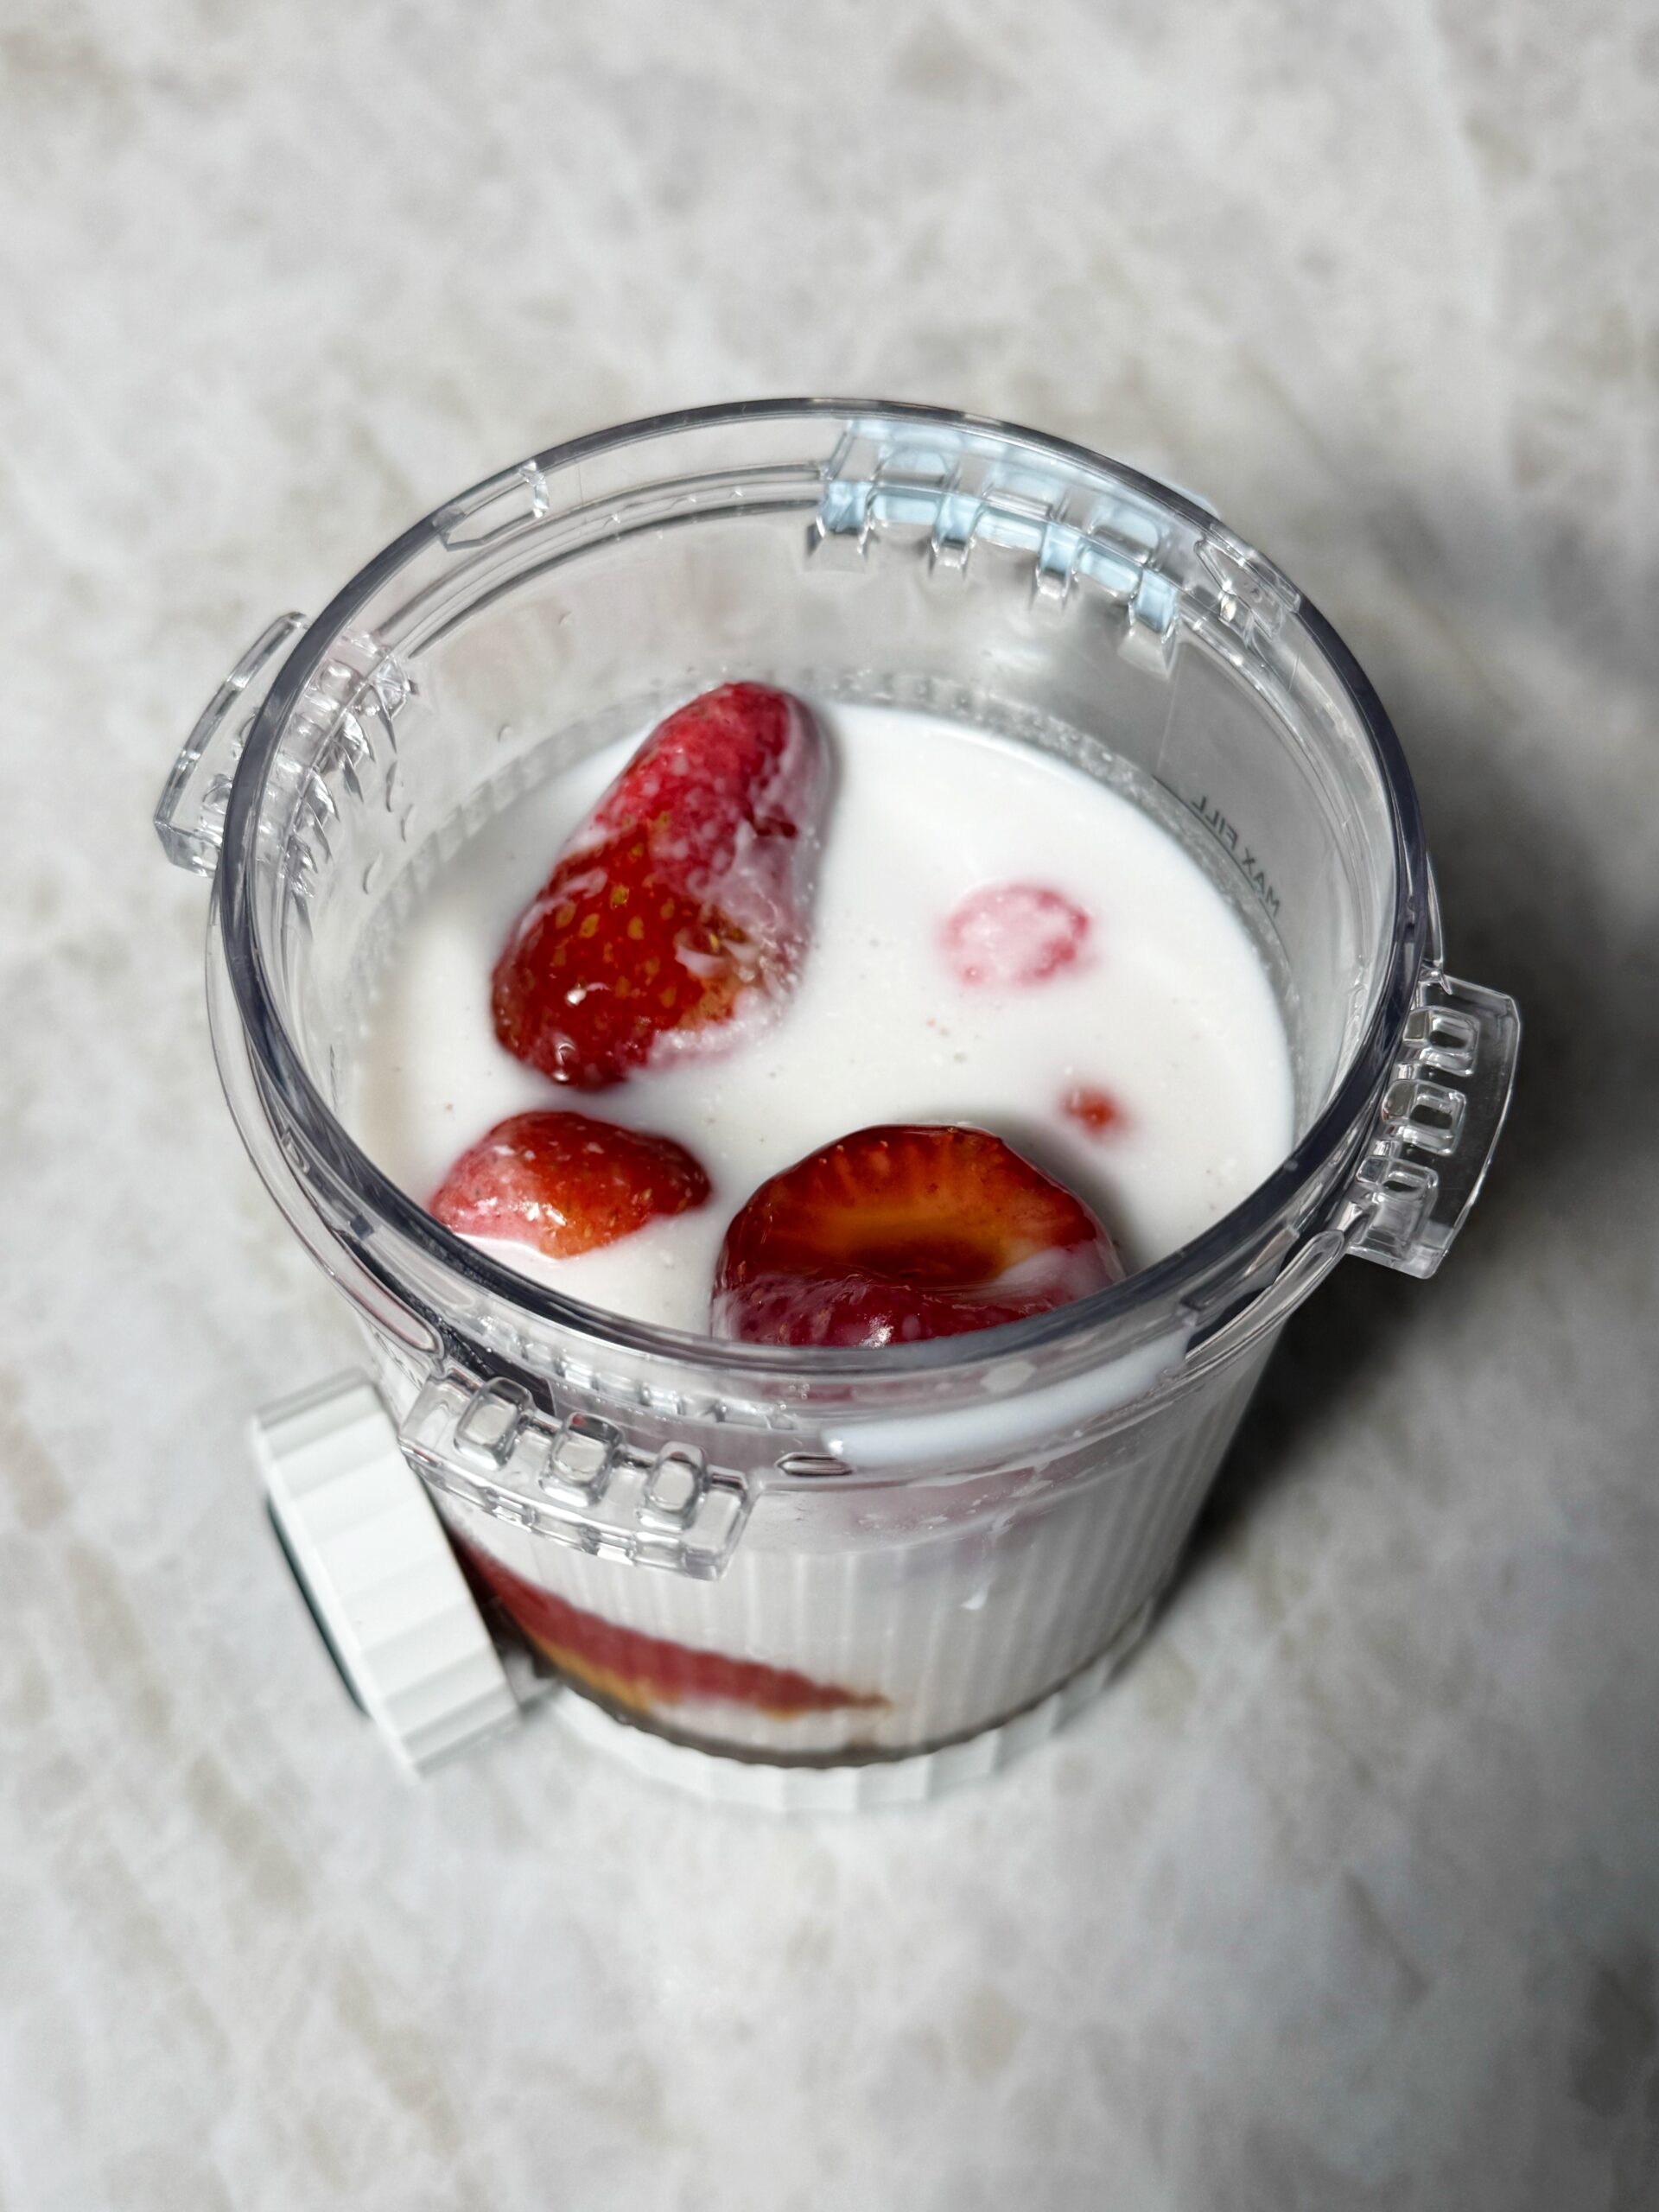
Step 1: Add ingredients to Ninja Creami pint.
Step 2: Store Ninja Creami pint in the freezer with the cap off overnight. Make sure it is on a level surface.
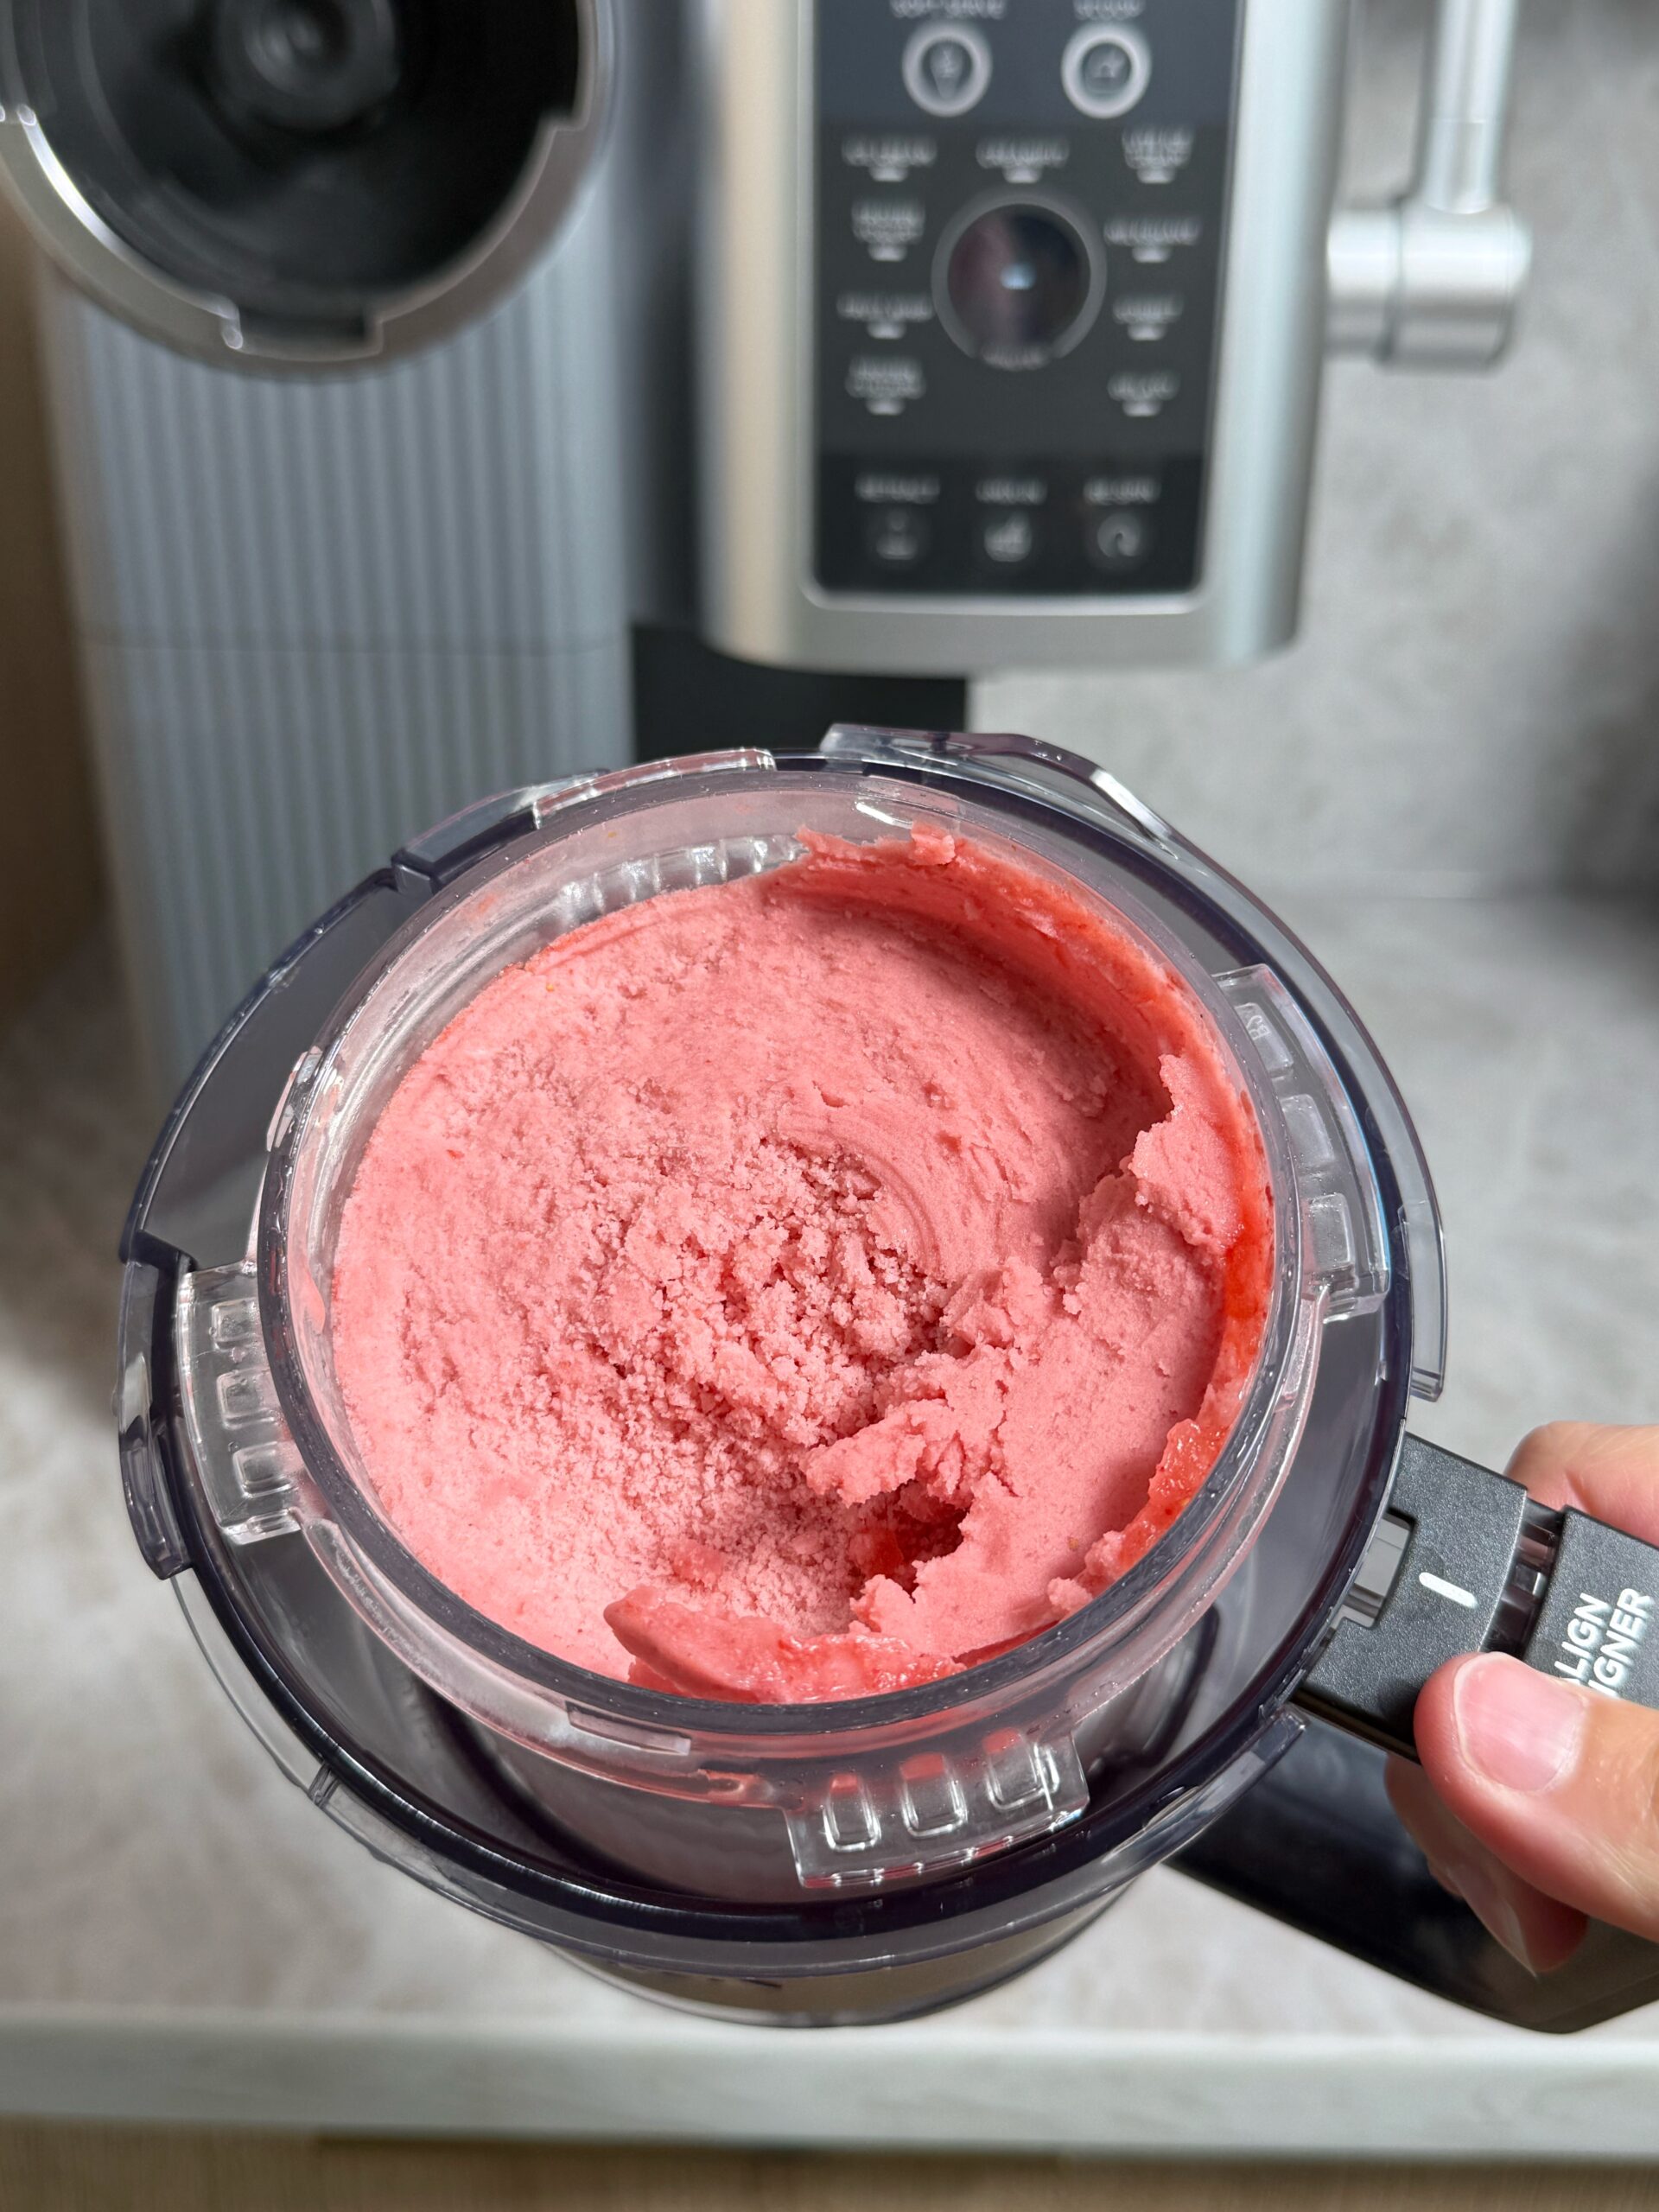
Step 3: Process Ninja Creami pint on "ice cream". Add a drop of milk and "re-spin".
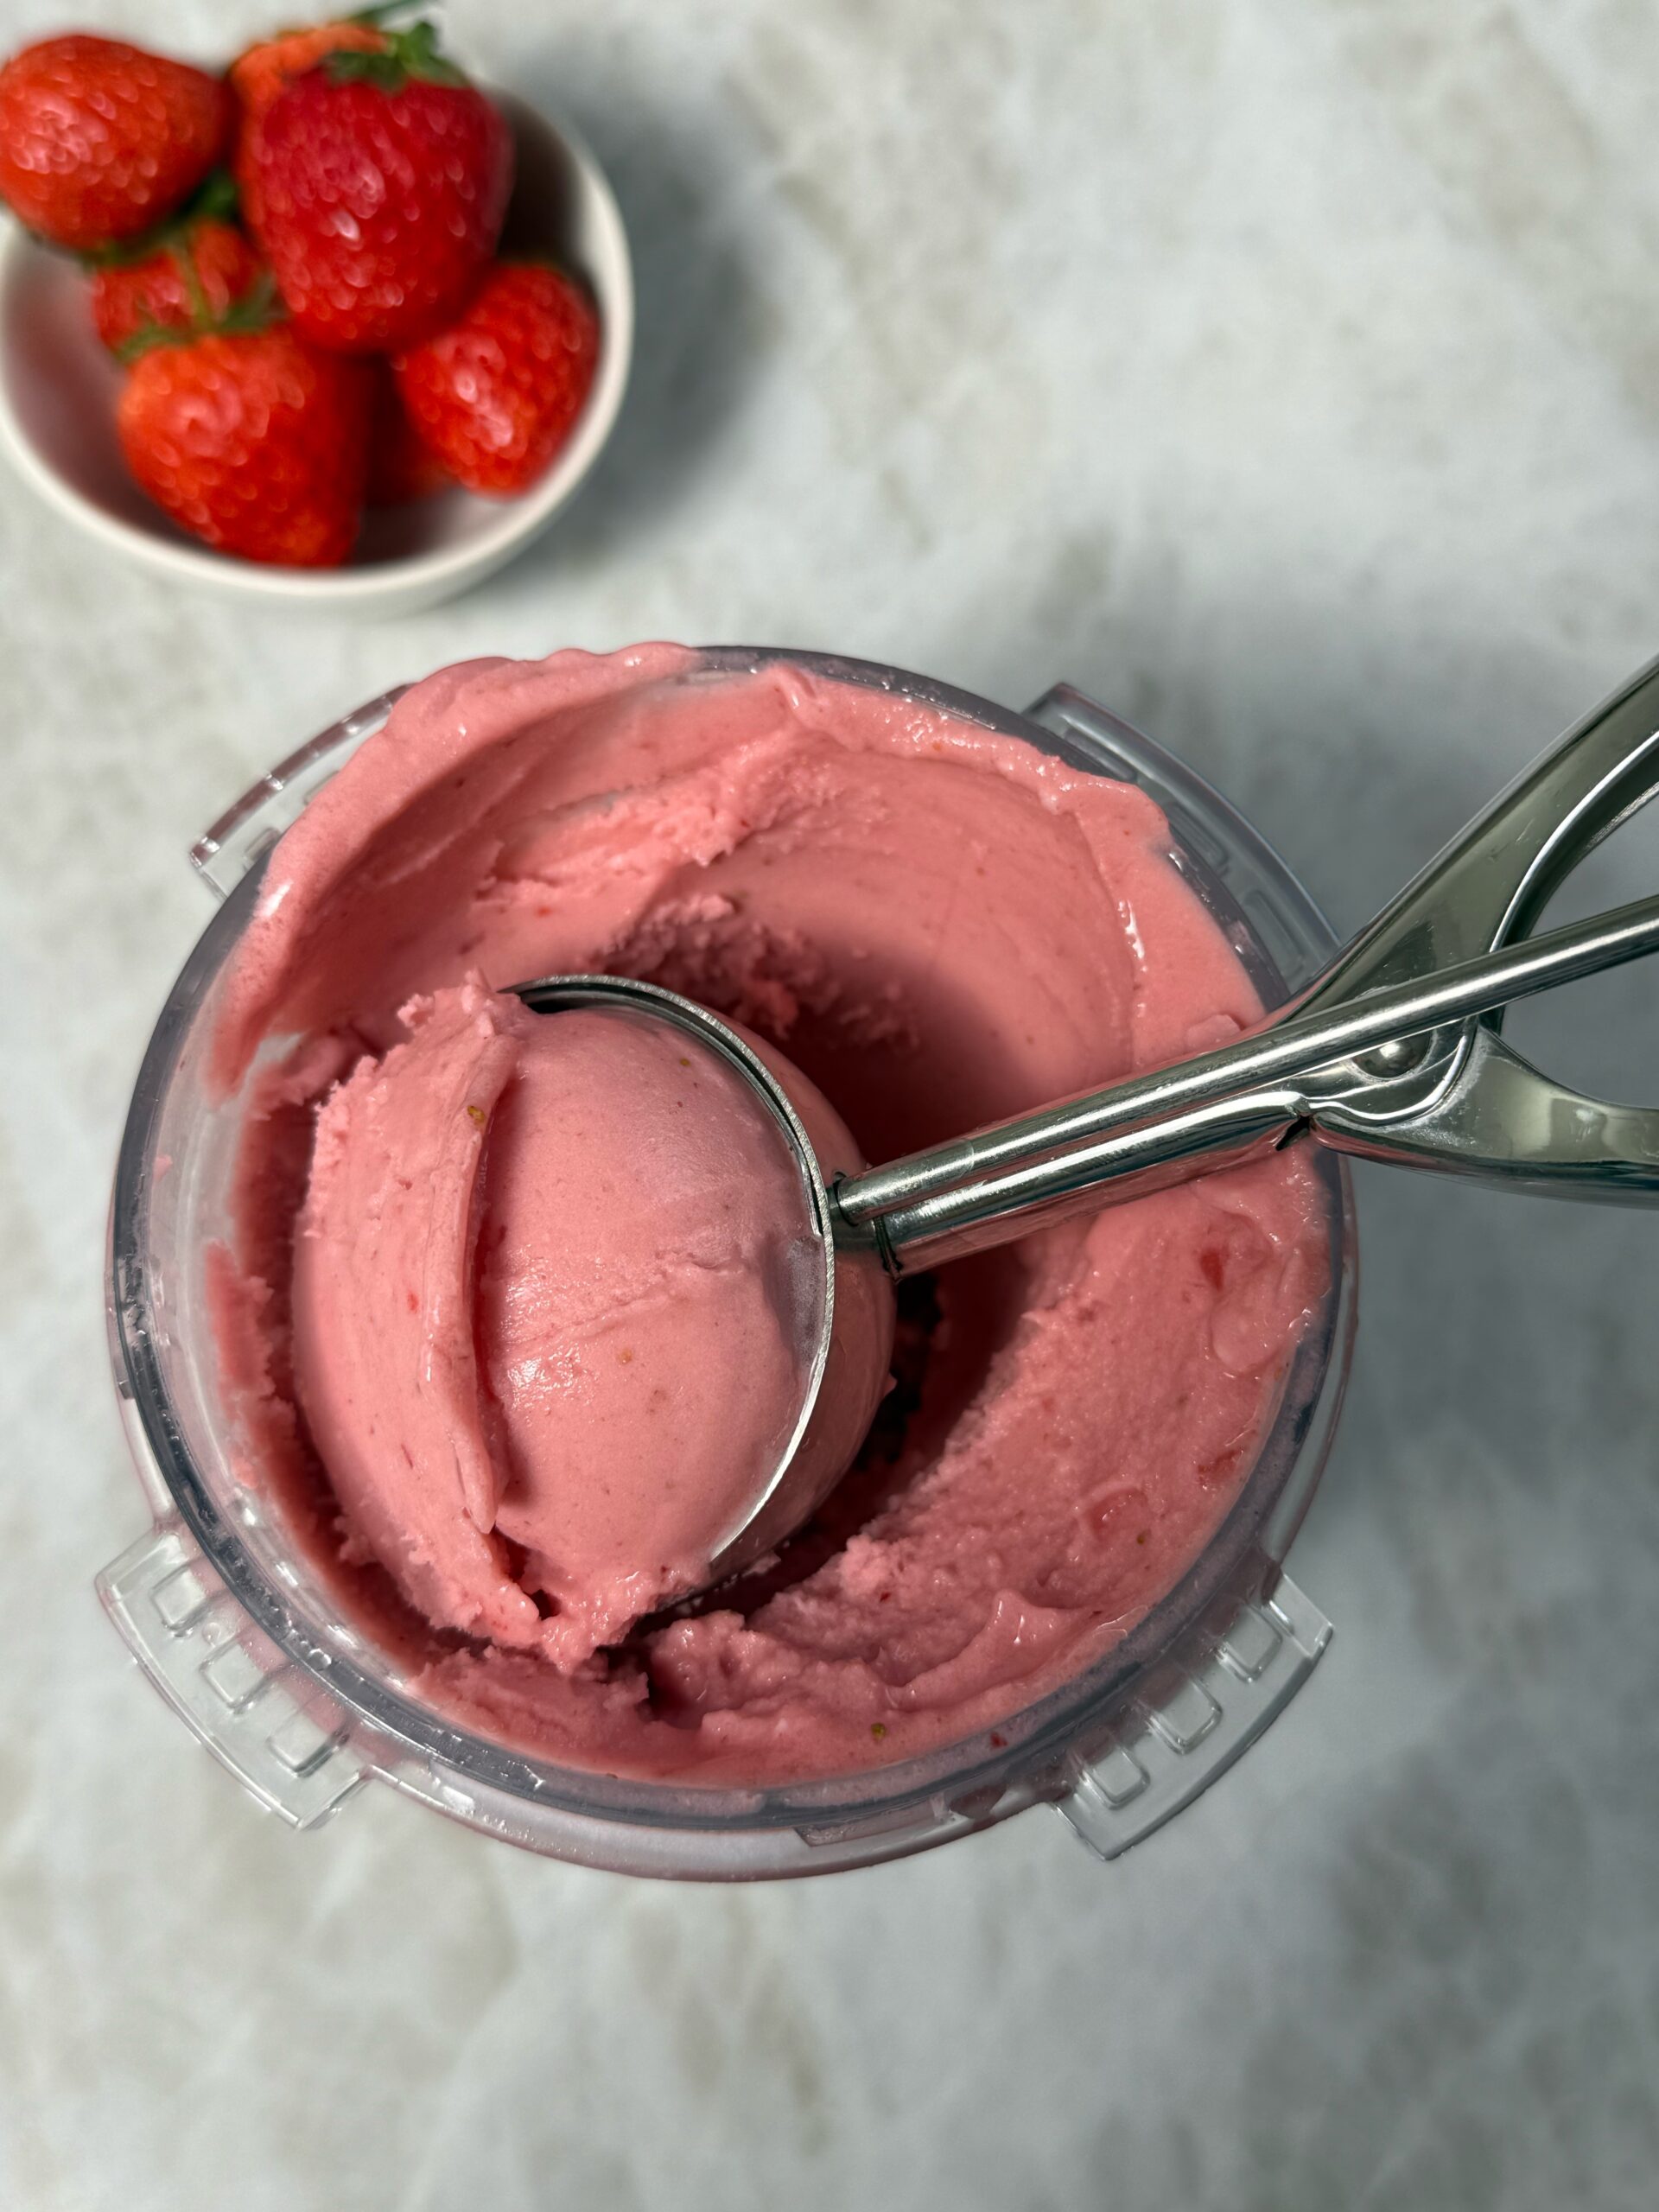
Step 4: If you are choosing to add mix-ins, create a hole in the center, add mix-ins and then process again on "mix-ins". Add toppings and enjoy!
Recipe Tips
- Make sure to use full fat coconut cream for the best texture!
- If you are using frozen strawberries, let them thaw out a little before adding to creami.
- Fill the pint container to the fill line and make sure it does not go over.
- Freeze the pint level and flat for at least 24 hours before spinning.
- Let the pint sit for a few minutes at room temperature before processing.
- If it's soupy after spinning, pop it back in the freezer for 10-15 minutes before scooping!
Storage and Make Ahead Tips
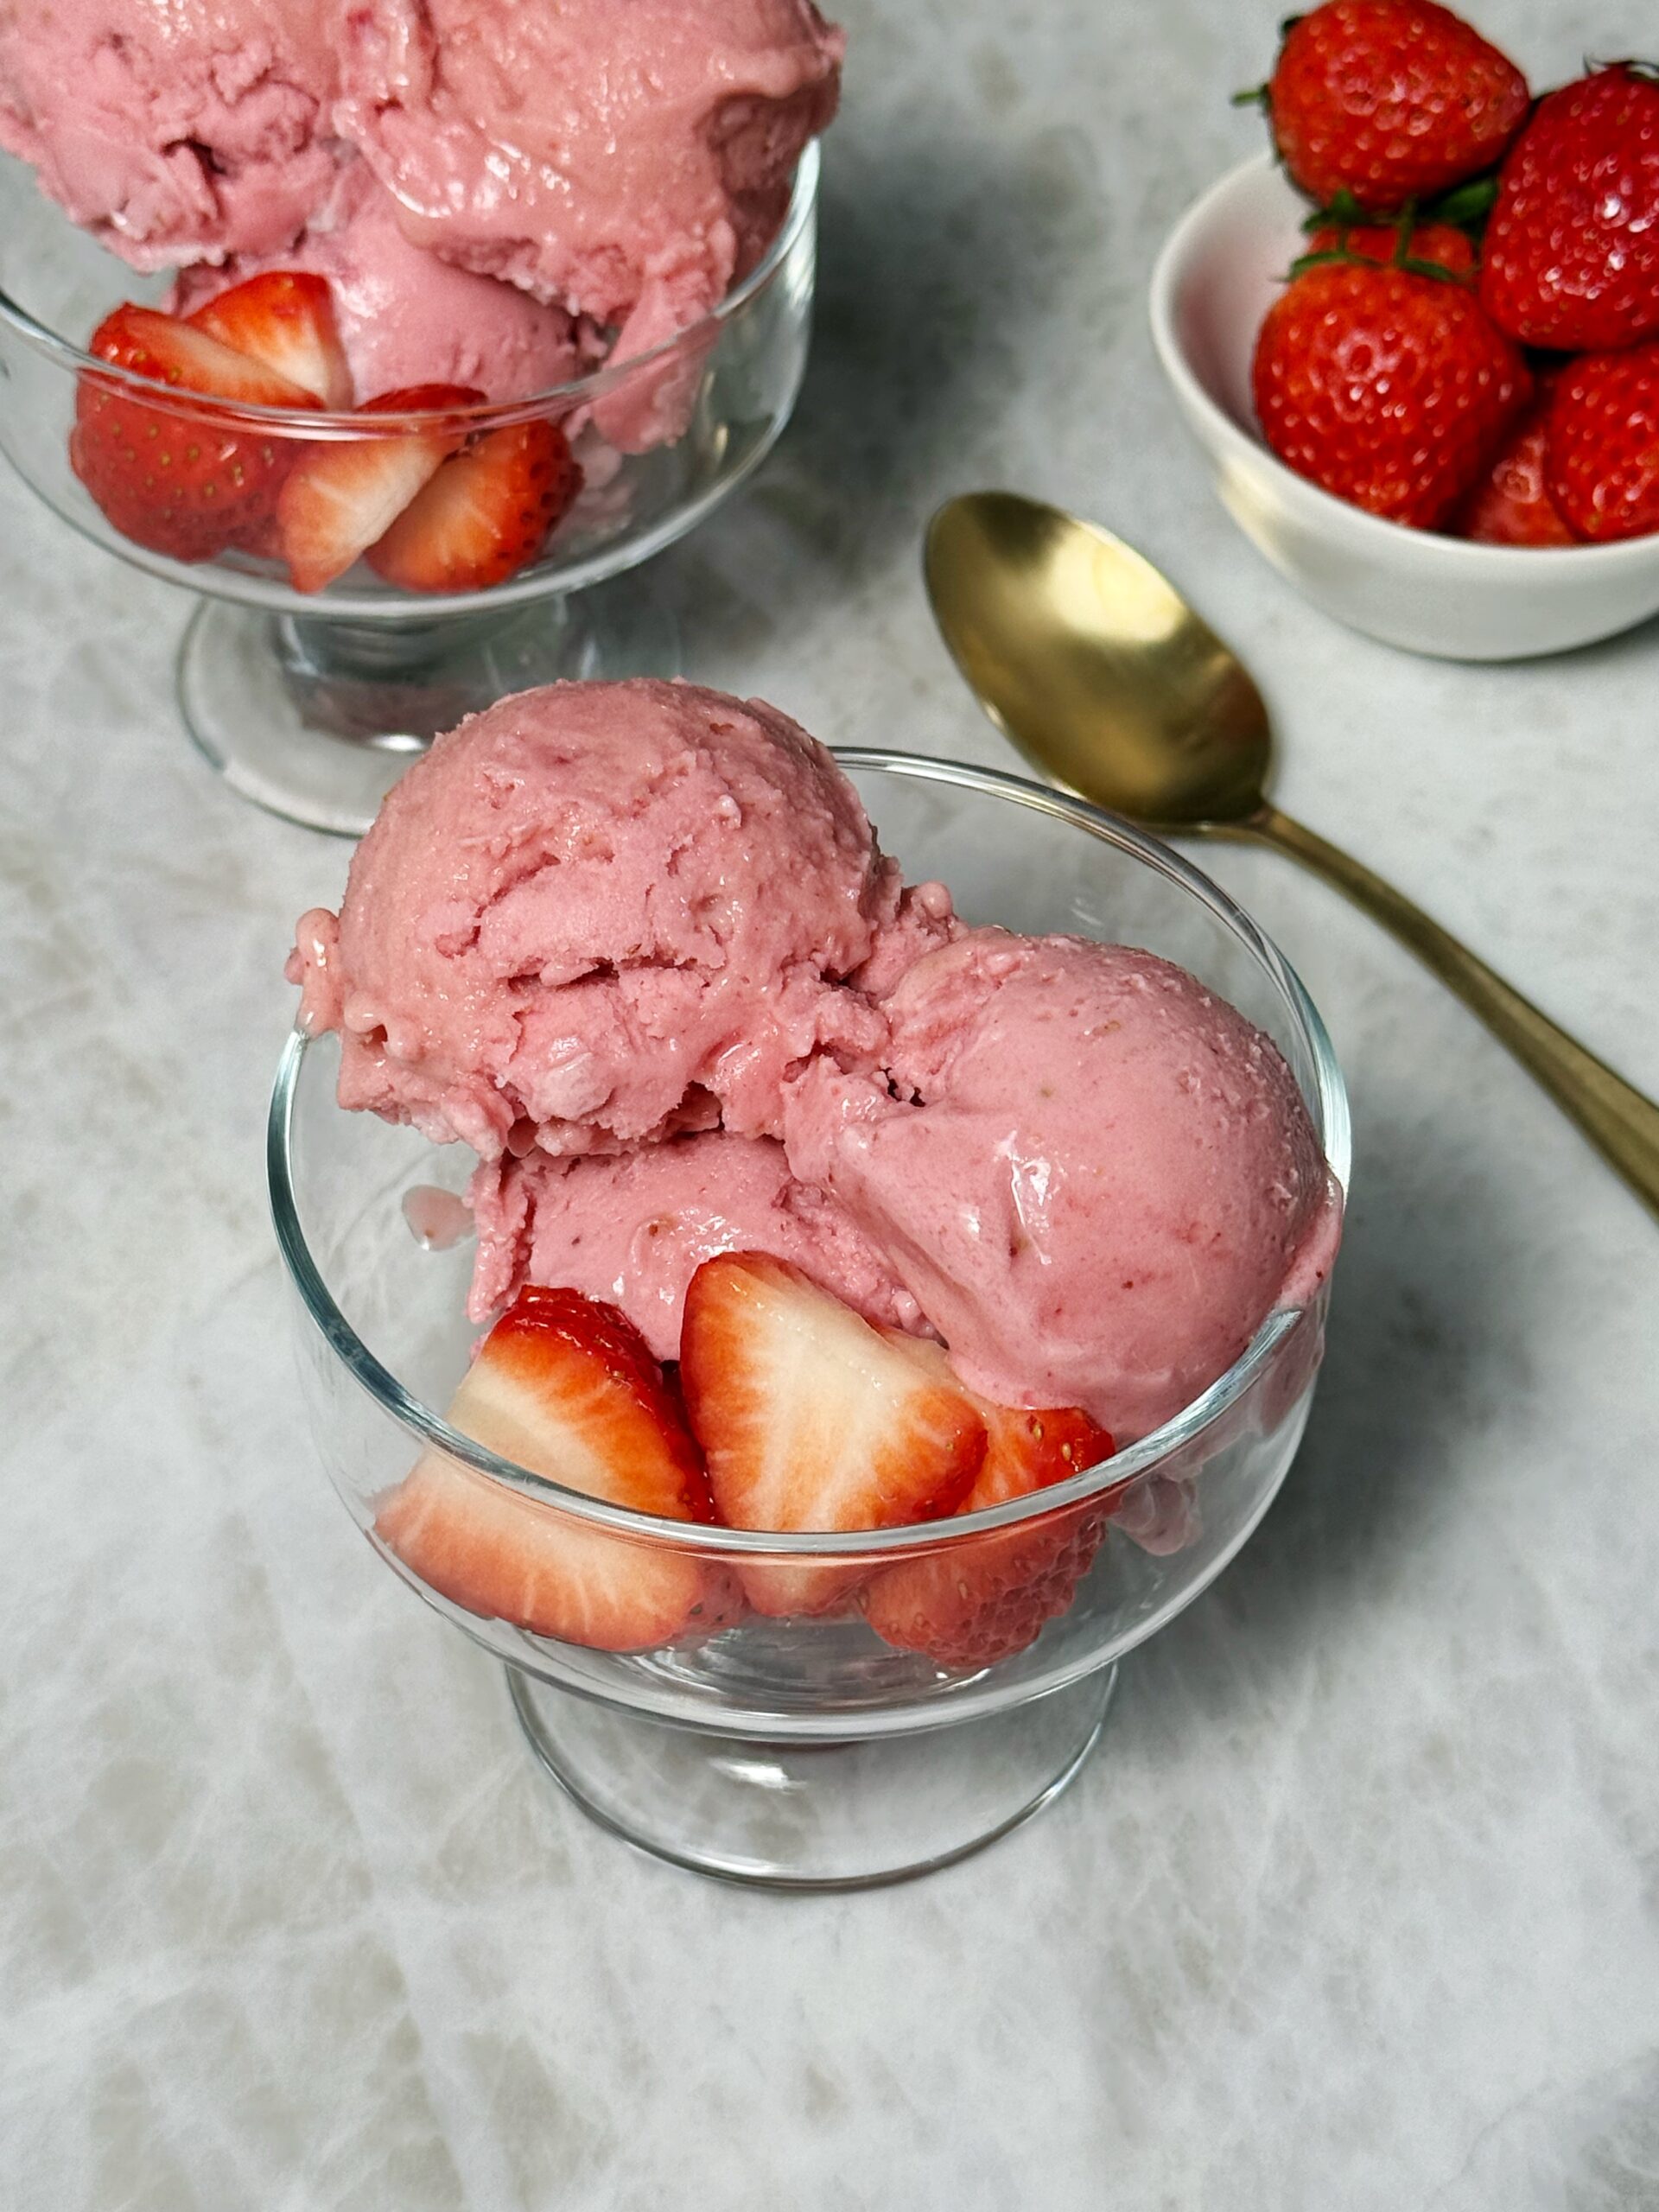
Because this is dairy-free and doesn't have the stabilizers found in store-bought pints, it will freeze harder than when it first came out of the machine. When you're ready for more, don't just scoop straight from a hard freeze, run it through the Creami's "re-spin" function to bring back that soft-serve texture. If it's been in the freezer for several days, let it sit at room temp for 5-10 minutes before re-spinning for best results!
I recommend having a few Creami pint containers prepped ahead at all times for when the ice cream craving hits! That way, you don't have to wait a full day to enjoy!
Recipe FAQs
If your creami is crumbly, simply add a drop of milk and re-spin it.
If you want to reduce the amount of cream, I would recommend doing 1/2 cup coconut cream and 1/2 cup dairy-free milk!
This recipe works best when frozen overnight or for 24 hours. You can get away with freezing it for about 8 if you are super excited to make it!
Related Recipes
Be sure to try these fun dairy-free treats next:
Gluten-Free & Dairy-Free Ice Cream Sandwiches
Frozen Samoa Rice Krispie Treats
If you make this Dairy-Free Ninja Creami Strawberry Ice Cream and love it, I would really appreciate a 5 star review! I also love seeing your creations so please tag me on Instagram or TikTok.
Want to Save This Recipe?
Enter your email & I'll send it to your inbox. Plus, get weekly gluten-free and dairy-free meal ideas and grocery lists delivered straight to your inbox every Friday!
By submitting this form, you consent to receive emails from Less with Laur
Dairy-Free Ninja Creami Strawberry Ice Cream
Equipment
Ingredients
- 1 cup strawberries fresh or frozen
- 1 cup coconut cream
- 1 tbsp honey
- 1 tsp vanilla extract
Instructions
- Add ingredients to Ninja Creami tub.
- Freeze overnight on a level surface.
- Process on "ice cream", add a drop of milk and "re-spin".
- Add any mix-ins or toppings and enjoy!
Notes
- Make sure to use full fat coconut cream for the best texture!
- If you are using frozen strawberries, let them thaw out a little before adding to creami.
- Fill the pint container to the fill line and make sure it does not go over.
- Freeze the pint level and flat for at least 24 hours before spinning.
- Let the pint sit for a few minutes at room temperature before processing.
- If it's soupy after spinning, pop it back in the freezer for 10-15 minutes before scooping!
Leave a Reply