
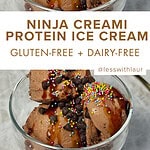
This Ninja Creami protein ice cream is thick, creamy and so easy to make. I wanted to buy a Ninja Creami machine so badly, but I was a little nervous because I hadn't seen too many dairy-free recipes out there. With a little experimentation, I created the perfect base for dairy-free protein ice cream that works every time. This recipe only calls for 5 ingredients and takes 5 minutes to prep!
Why You'll Love This Protein Ice Cream
This dairy-free protein ice cream is the best dessert to have waiting for you in your freezer. It's cheaper than store bought ice cream and the best part is that you get to control what goes into it. The variations are endless and you can use mix-ins that work with your food allergies, intolerances or preferences! I love prepping a bunch of bases to have on hand and adding in mix-ins when I'm ready to eat it. You're basically making a McFlurry or Blizzard at home with better ingredients.
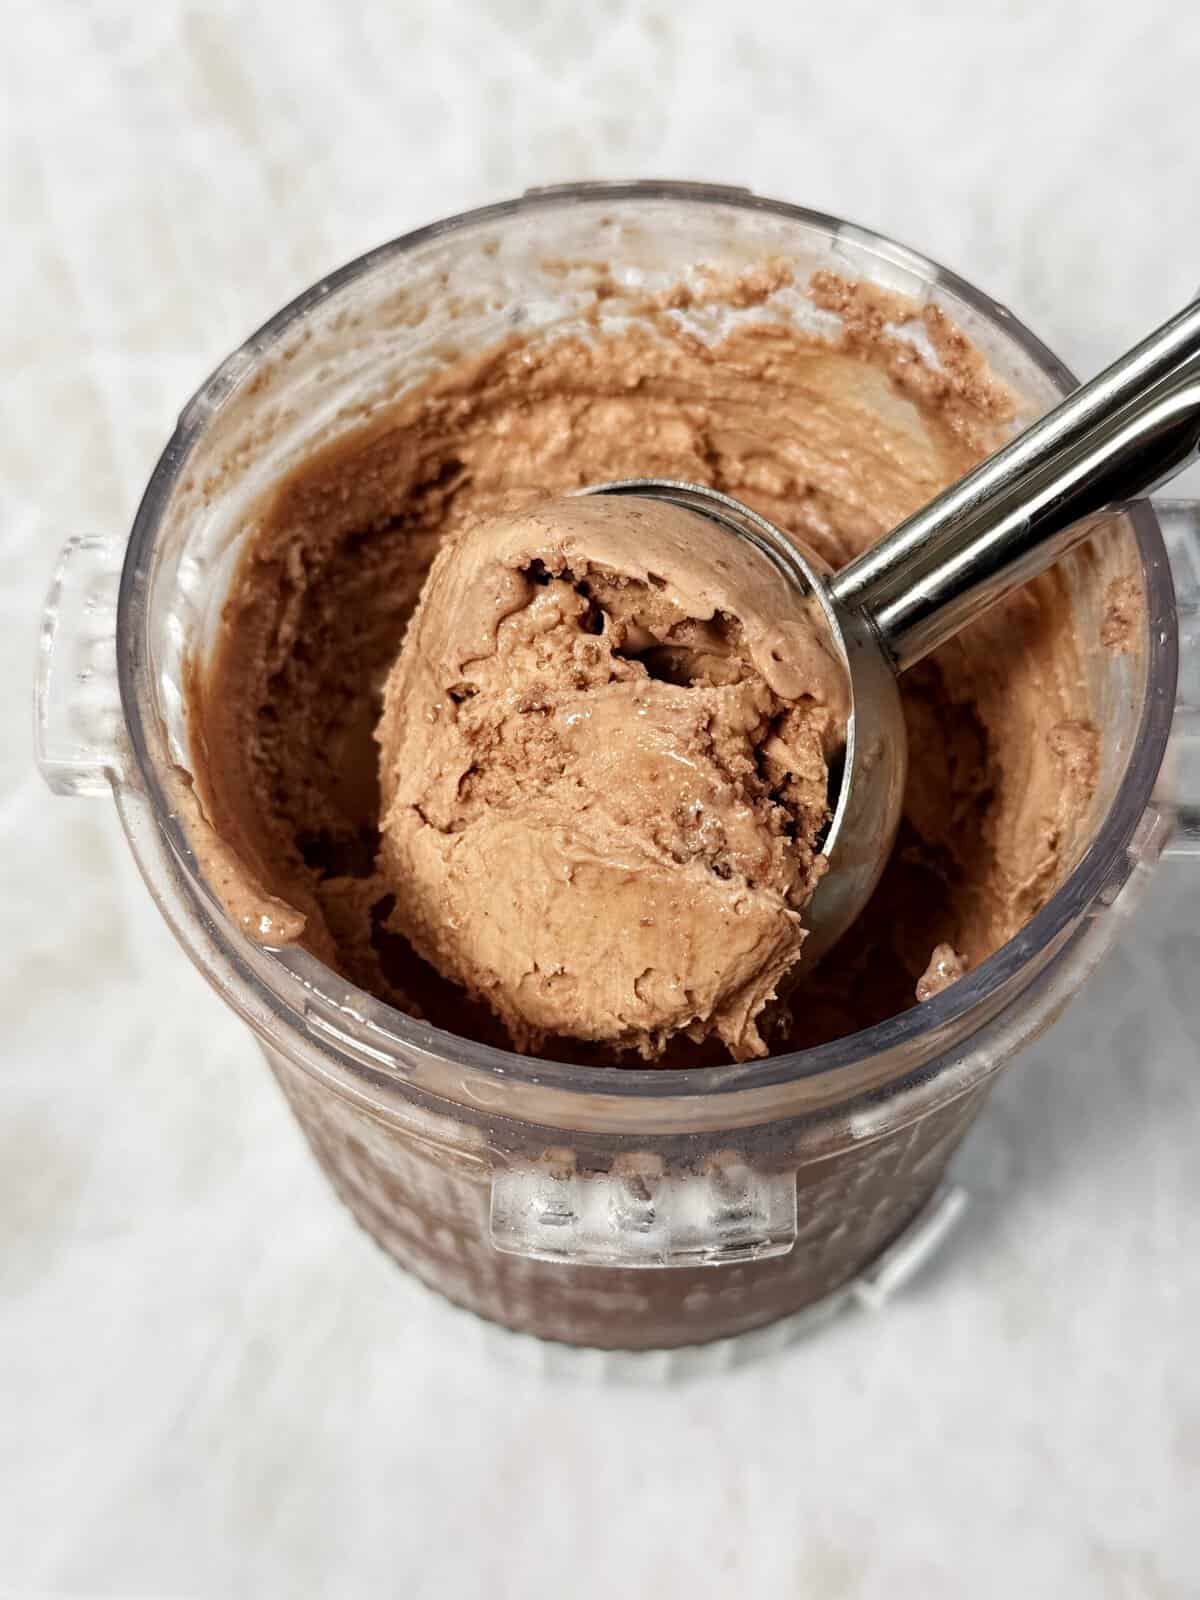
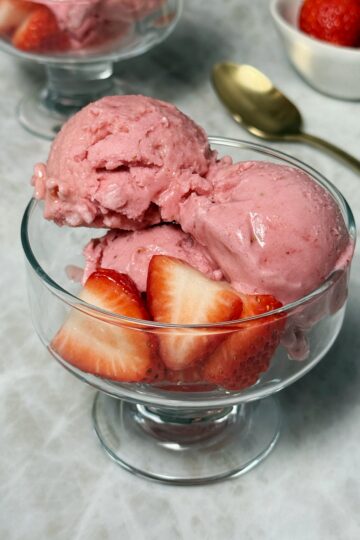
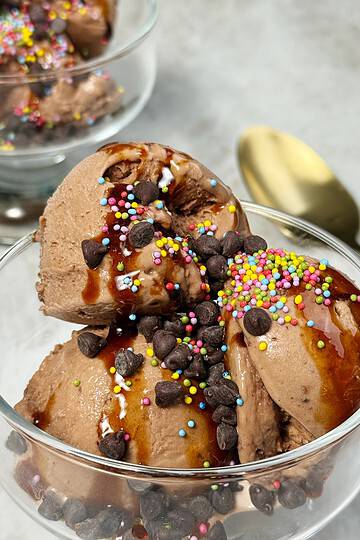
This sweet treat has protein, so it won't spike your blood sugar like regular ice cream will. Personally, I have blood sugar issues, so this ice cream allows me to enjoy yummy treats and also support my health! It uses simple and clean ingredients, which is super important to me. No jello mix needed! All you need for this recipe is coconut cream, dairy-free milk, honey, vanilla extract and protein powder. Make a vanilla base using vanilla protein powder and a chocolate base using chocolate protein powder. It couldn't be easier!
Ingredients You'll Need
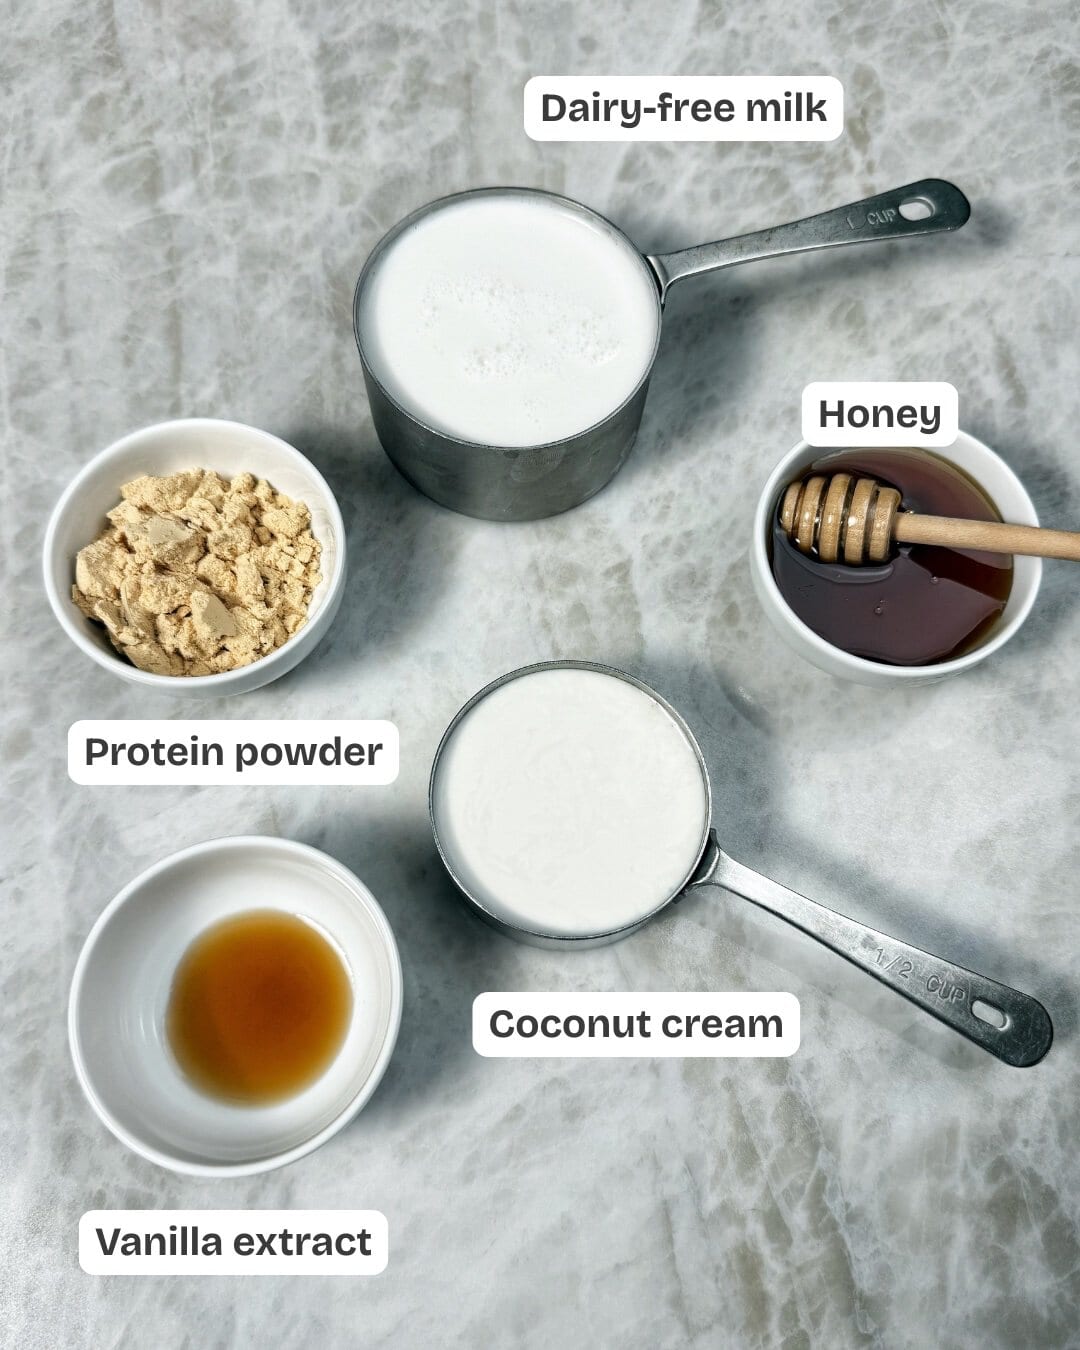
- Dairy-free milk: I used coconut milk in this recipe, but you can also use cashew milk or almond milk.
- Coconut cream: This makes the ice cream super creamy and thick.
- Honey: A natural way to sweeten this dessert.
- Vanilla extract: Adds warmth and flavor!
- Protein Powder: Adds protein, helps make the Creami smoother and contributes to the taste!
Recipe Variations
- Base: To create a vanilla base, use vanilla protein powder. To create a chocolate base, use chocolate protein powder. You can also play around with other protein powder flavors like churro, mint chocolate, coffee and more. The base ingredients remain the same, just switch out the protein flavor!
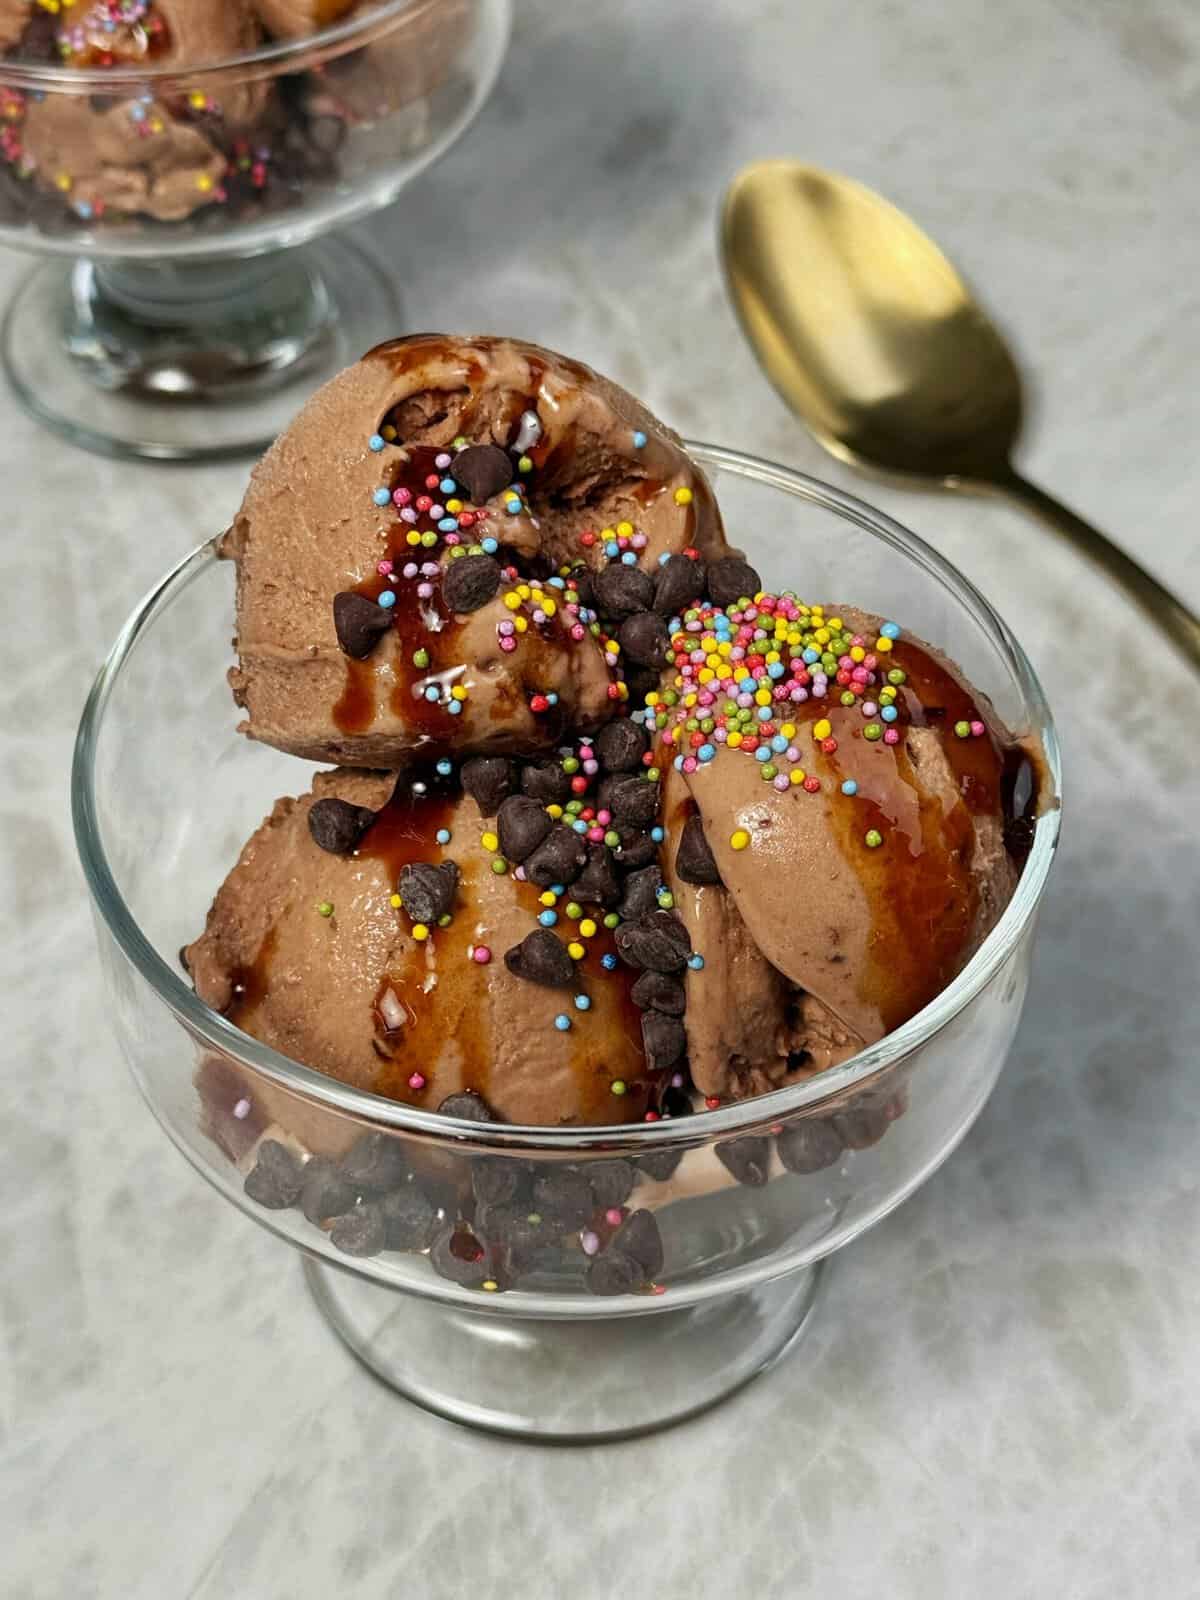
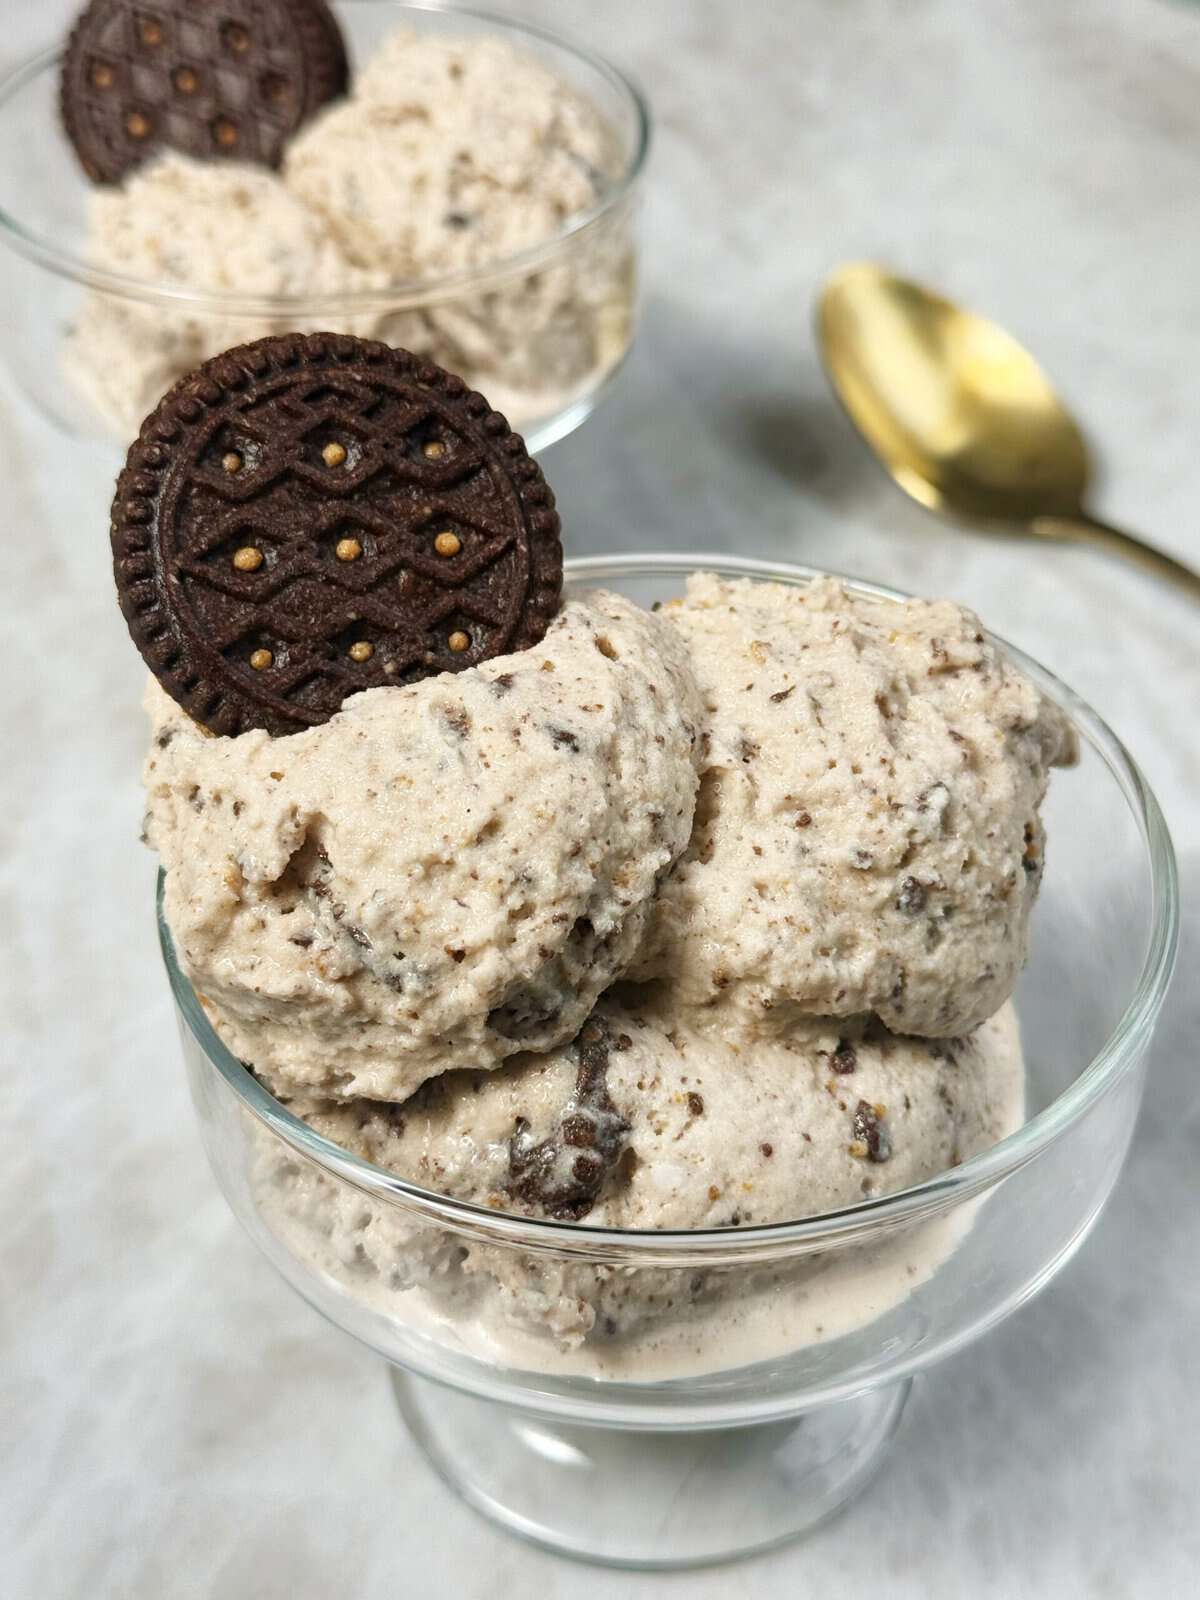
- Mix-Ins: The options for mix-ins are honestly endless! I love adding chocolate chips, sprinkles, cookies, brownies and graham crackers. Playing around with the protein powder and mix-ins results in so many different flavor variations. I love that I can add gluten-free and dairy-free mix-ins and create flavors that I wouldn't normally be able to find at the store.
- Sweetener: Any sweetener works here! You can use honey, maple syrup, coconut sugar or dates. If you are using dates, you will need to use a blender instead of a hand mixer.
How To Make A Dairy-Free Protein Ninja Creami

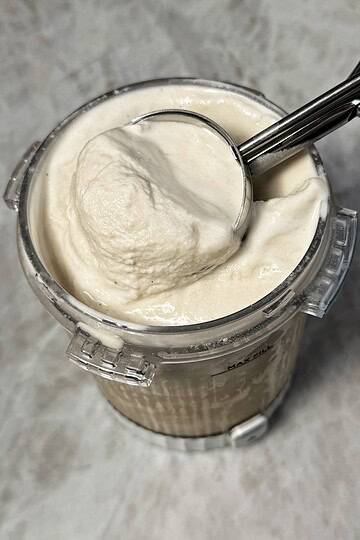
Step 1: Add your ingredients to a Ninja Creami cup and use a hand mixer to blend.

Step 2: Freeze overnight on a level surface with the cap off.
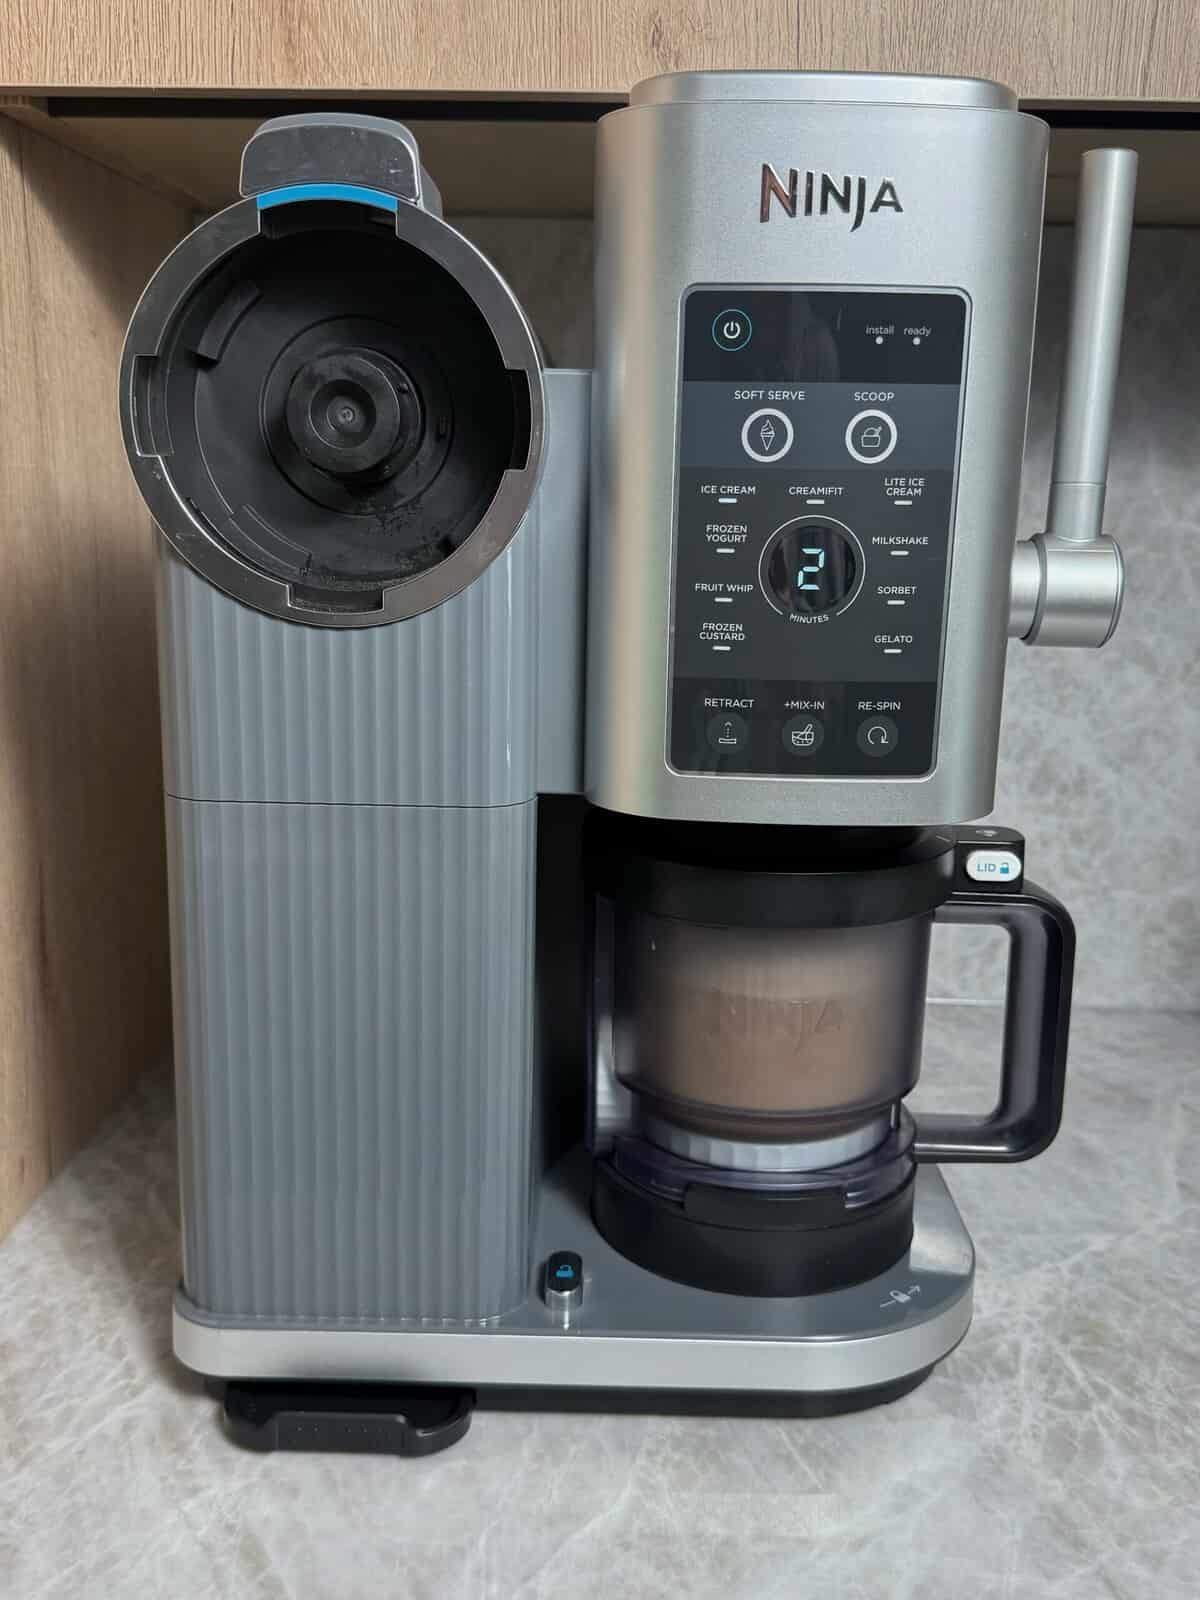
Step 3: Process your Ninja Creami on "ice cream". Add milk and "re-spin".
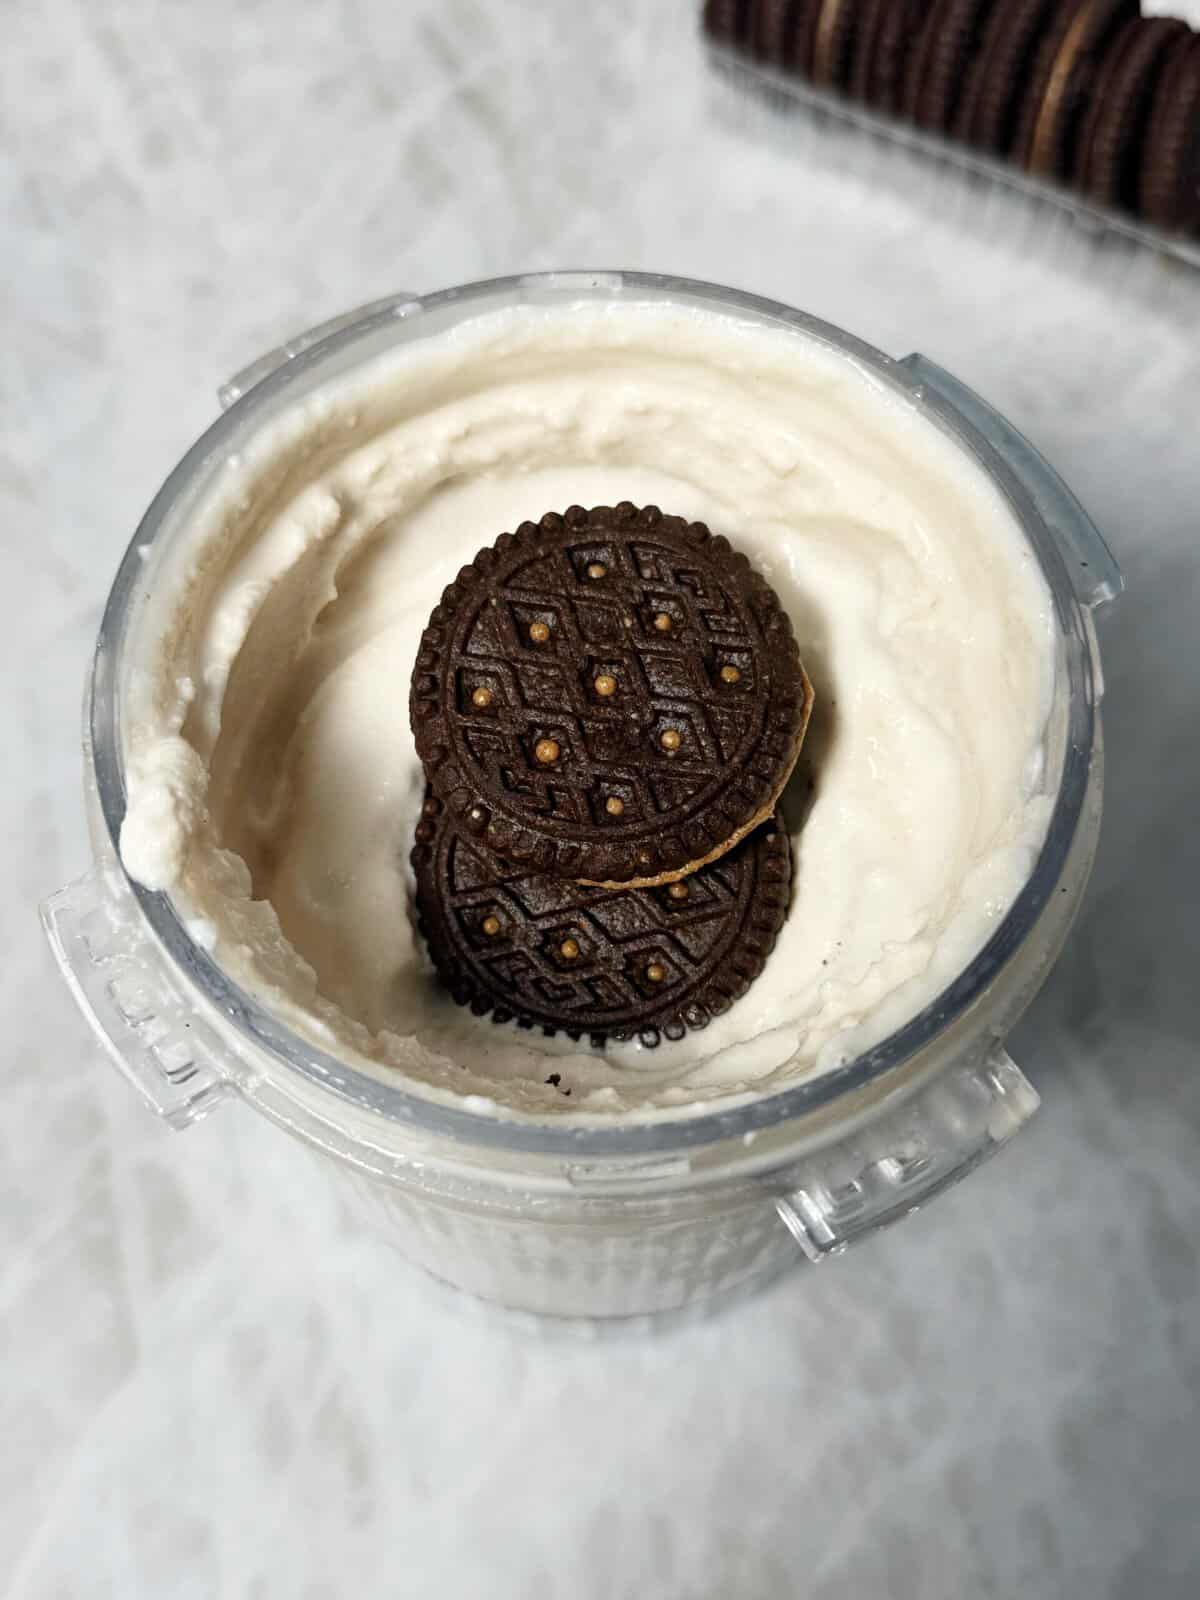
Step 4: If you are adding mix-ins, make a hole in the center, process on "mix-ins" and enjoy!
Recipe Tips
- Never fill your Creami above the fill line.
- Freeze your Creami on a level surface.
- The higher in fat content your ingredients are, the creamier it will be!
- Don't overdo the protein. More isn't always better!
Storage and Make Ahead Tips
I recommend always having at least two Ninja Creami bases in your freezer prepped and ready to go for when the ice cream craving hits! That way, you can just add in any mix-ins you are feeling that day and enjoy!
On the off chance you don't eat the whole container, you can store your leftover ice cream in the freezer in the Creami container. Make sure to level off the ice cream so that you can re-spin it when you are ready to enjoy it again!
Recipe FAQs
I recommend using a beef isolate protein for this recipe as it yields the best texture! I love the Equip Protein.
Sometimes this happens with high-protein recipes. All you need to do is add a splash of milk and re-spin it.
Yes, you can swap the honey for maple syrup or agave.
More Delicious Dairy-Free Desserts
- Matcha Ninja Creami
- Gluten-Free & Dairy-Free Ice Cream Sandwiches
- Samoa Ice Cream Stuffed Dates
- Peaches & Cream
If you make this Dairy-Free Ninja Creami Protein Ice Cream and love it, I would really appreciate a 5 star review! I also love seeing your creations so please tag me on Instagram or TikTok.
Want to Save This Recipe?
Enter your email & I'll send it to your inbox. Plus, get weekly gluten-free and dairy-free meal ideas and grocery lists delivered straight to your inbox every Friday!
By submitting this form, you consent to receive emails from Less with Laur
Dairy-Free Ninja Creami Protein Ice Cream
Equipment
- 1 hand mixer
Ingredients
- 1 1/2 cups dairy-free milk coconut, cashew or almond
- 1/2 cup coconut cream
- 1 tsp vanilla extract
- 2 tbsp protein powder chocolate or vanilla
- 2 tbsp honey
Instructions
- Add ingredients to a Ninja Creami cup and use a hand mixer to combine.
- Store the Creami in the freezer with the cap off overnight. Make sure it is on a level surface.
- Process your Ninja Creami on "ice cream".
- Add a splash of milk and hit "re-spin".
- Make a hole in the middle of your ice cream and add in any preferred mix-ins.
- Process on "mix-ins" and enjoy!
Notes
- Never fill your Creami above the fill line.
- Freeze your Creami on a level surface.
- The higher in fat content your ingredients are, the creamier it will be!
- Don't overdo the protein. More isn't always better!
Leave a Reply