
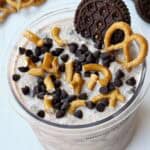
This thick and creamy Ninja Creami Milkshake is the dreamiest dessert. It is my dairy free dupe for a Blizzard! This summer sip is the perfect treat and it's made with a handful of simple ingredients. Plus, it's super easy to make gluten free and dairy free, if necessary. There are so many delicious variations you can make using this base recipe - honestly, the options are endless!
If you're like me and have a serious sweet tooth, you've got to add this fun and rich milkshake recipe to your to-do list. For other fun drinks, try my Matcha Milkshake, this Creamy Maca Smoothie or my Strawberry Cloud Smoothie.

Why You'll Love This Recipe
It's perfect when I'm craving something rich and sweet!
This Ninja Creami Milkshake is totally kid-friendly.
You can add a ton of different ingredients - it's very customizable.
Meal prep friendly, you can make it in advance!
I love that it's naturally sweetened with honey or maple syrup.
I added protein powder to help with blood sugar balance!
The texture is luxurious, thick and creamy - I'm obsessed!
Equipment Needed
I used a Ninja Creami and a whisk for this recipe. The Ninja Cream is totally worth the hype. I love making delicious ice cream and milkshakes in it. I think it is especially worth it if you're dairy free because it can be tough to find fun options! With the Creami, the options are endless!
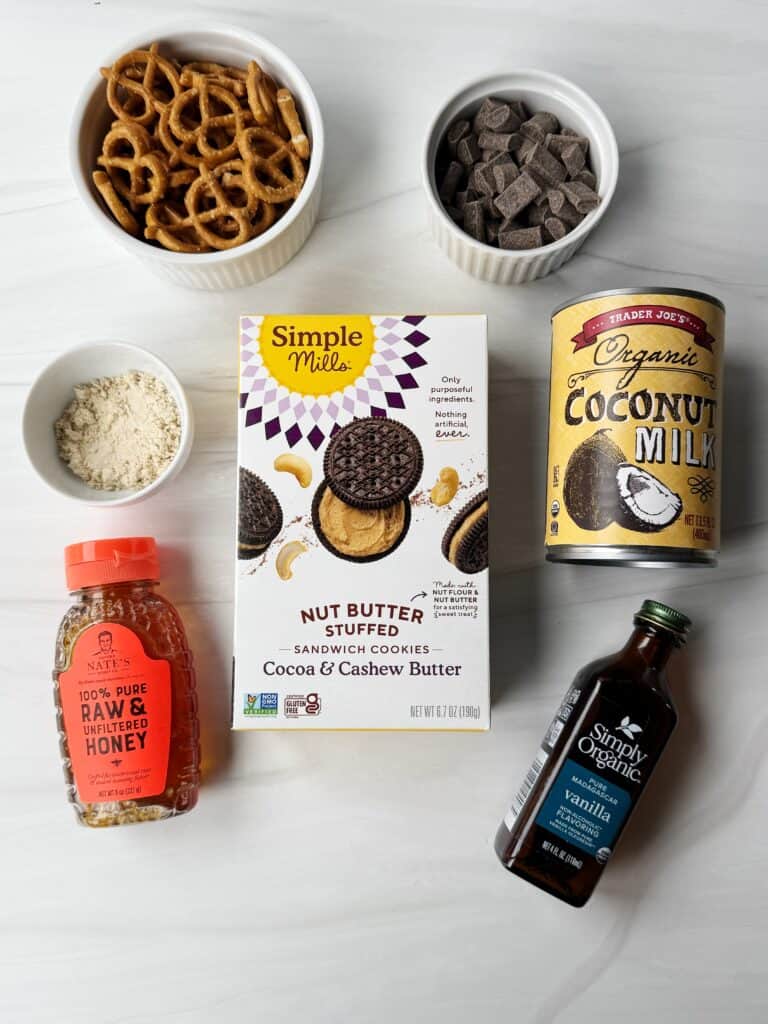
Ingredients Needed
Coconut milk: Use a full fat coconut milk to make this milkshake delicious and creamy!
Honey or maple syrup: To naturally sweeten your Ninja Creami Milkshake without loads of added sugar.
Vanilla protein powder: I love this as an easy way to include a little protein boost!
Vanilla extract: Use a high quality vanilla extract for additional flavor.
Mix ins: I love pretzels, cookies and chocolate chips but you can add any you like. Sprinkles are fun, too!
Step By Step Instructions
Step 1: Grab your ingredients.
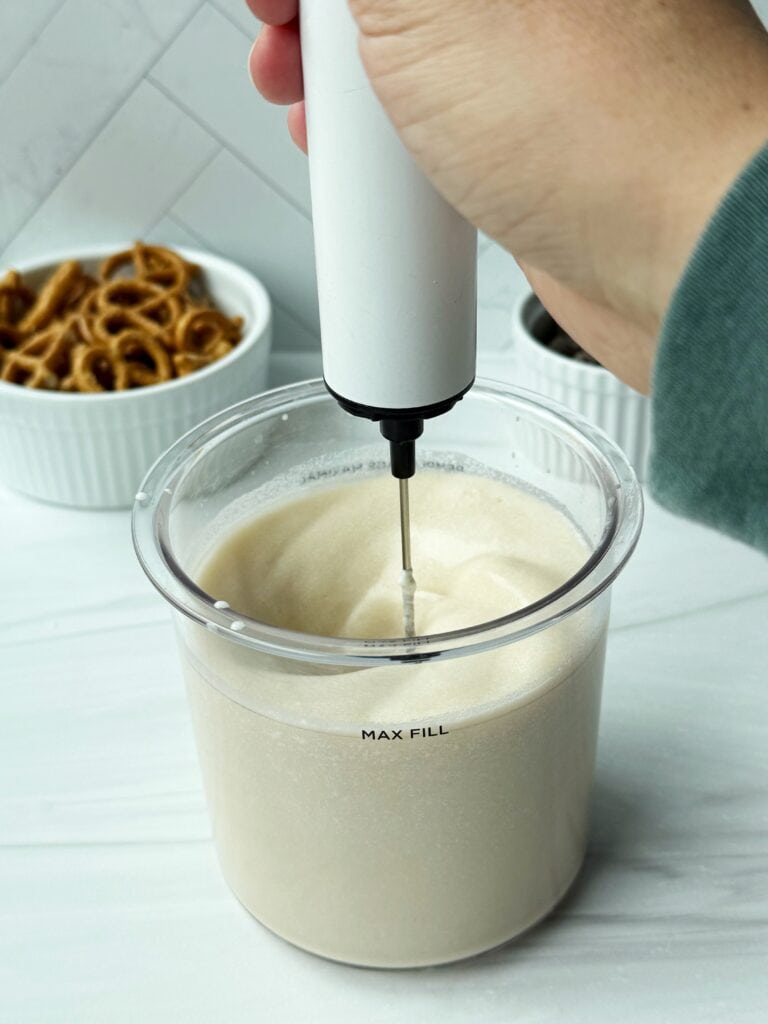
Step 2: Into your Ninja Creami container, add the coconut milk, sweetener, protein powder and vanilla extract. Use a whisk to combine.
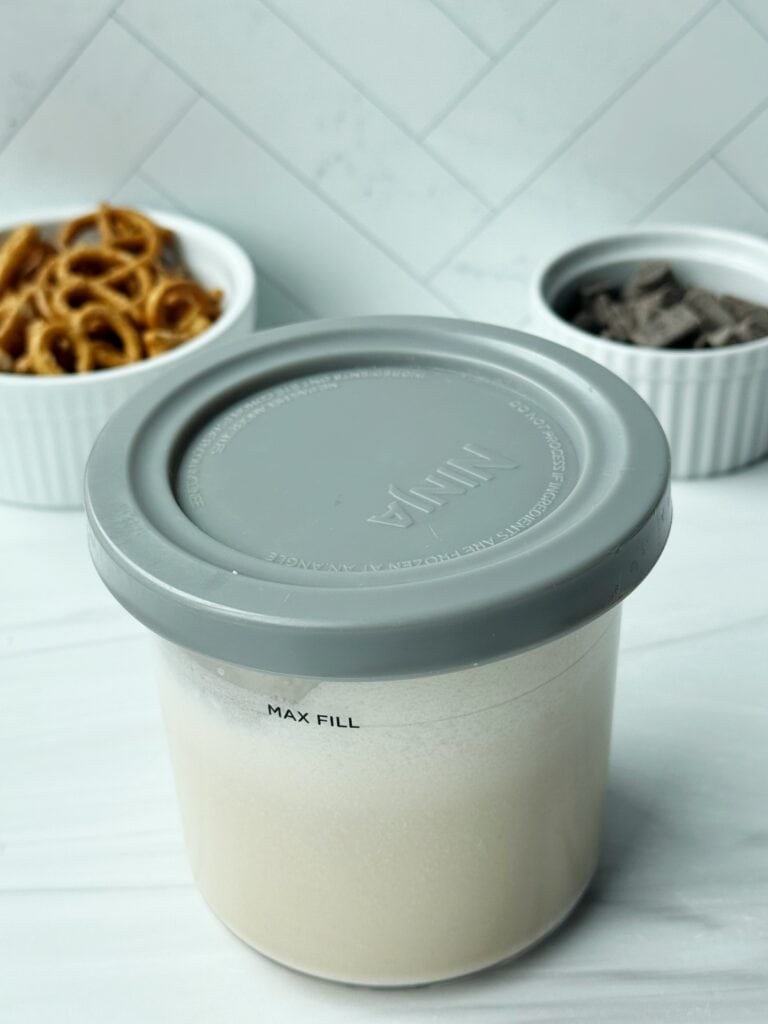
Step 3: Freeze the container and contents overnight or until frozen solid.
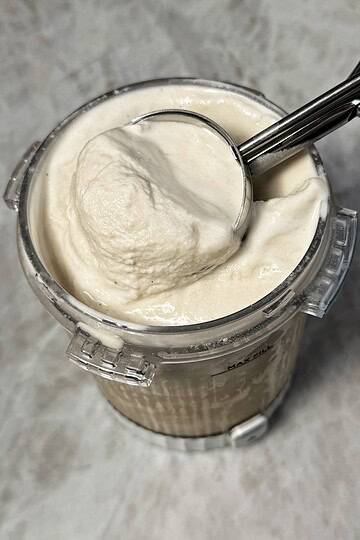
Step 4: Set the container at room temperature for 10 minutes and then process on the milkshake setting.

Step 5: Pour in extra milk if you need to, and then process it again on respin.
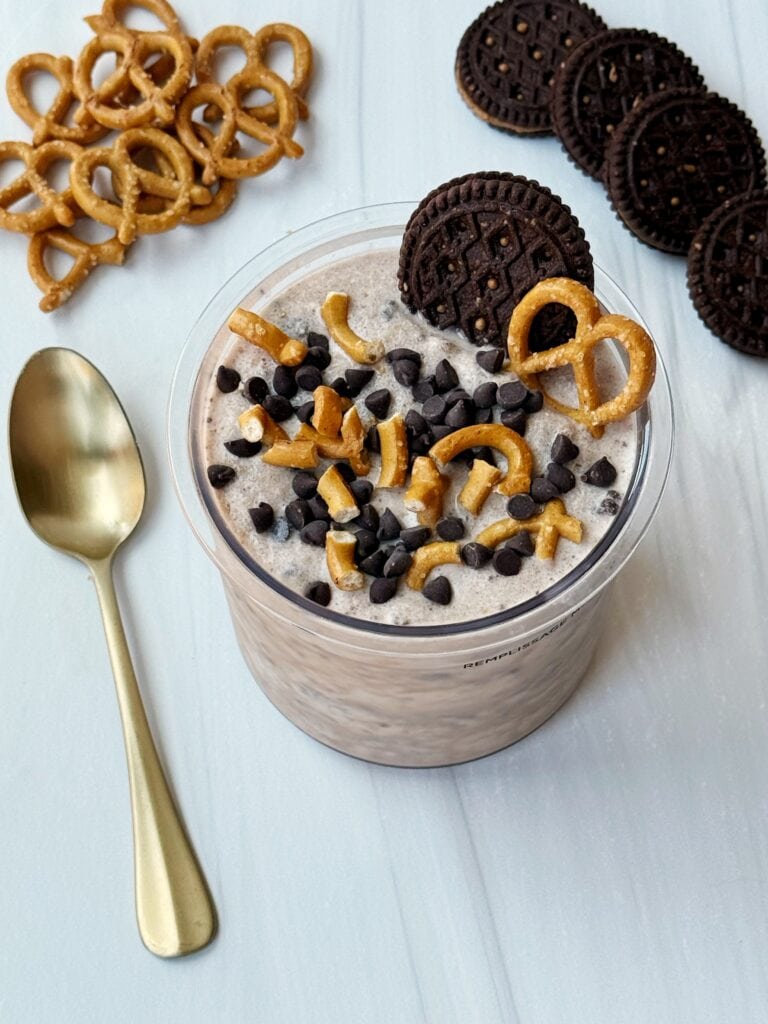
Step 6: Add in your chosen mix ins and process on the mix ins setting. It's ready to serve!

Storage
Keep your Ninja Creami Milkshake in the freezer. When you want to eat it, you can either let it melt a little or respin it!
Variations
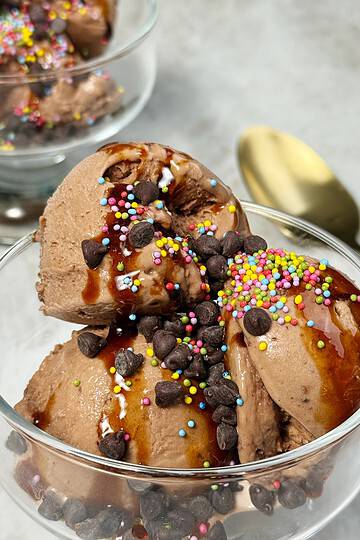
Chocolate: Add cocoa powder to the base to make it chocolate-flavored!
Mix ins: Try different mix ins like nut butter, fruit or cookies!
Toppings: Add cookies, pretzels, chocolate chips or chocolate syrup on top!
How to serve
I'm totally in love with my Ninja Creami machine - here's how I love to serve the milkshakes it makes:
- I recommend having your Ninja Creami Milkshake as soon as it's ready.
- Serve in a chilled glass for the ultimate, lux experience.
- Add garnishes like mint, chocolate sprinkles or strawberries.
- Serve a bunch of these this summer by the pool!
Recipe FAQ
Can I add whole fruit to the base of the Ninja Creami Milkshake recipe?
Yes! You can blend bananas, strawberries, mango, or even cherries into the base.
Can I use light coconut milk instead of full-fat?
Yes, but the texture may be less creamy and more icy if you use a lower-fat coconut milk. I recommend using full-fat to make it creamy.
Can I make this without the protein powder?
Yes, the protein powder is totally optional!
What other mix ins can I add?
Try adding fresh fruit, nut butter, cocoa powder or nuts!
Related recipes
Be sure to try these fun summer dessert ideas next:
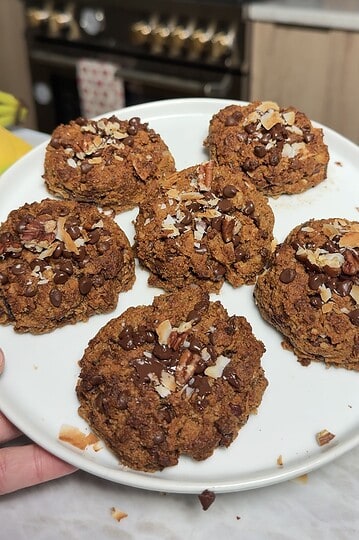
Gluten Free Cookie Dough Ice Cream
If you make this Ninja Creami Milkshake and love it, I would really appreciate a 5-star review! I also love seeing your creations so please tag me on Instagram or TikTok.
Want to Save This Recipe?
Enter your email & I'll send it to your inbox. Plus, get weekly gluten-free and dairy-free meal ideas and grocery lists delivered straight to your inbox every Friday!
By submitting this form, you consent to receive emails from Less with Laur
Ninja Creami Milkshake
Equipment
- 1 whisk
Ingredients
- 1 can coconut milk
- 1 tbsp honey or maple syrup
- 1 tbsp vanilla protein powder
- 1 tsp vanilla extract
- pretzels, cookies and chocolate chips
Instructions
- Gather your ingredients.
- Add coconut milk, sweetener, protein powder and vanilla extract to the container.
- Freeze overnight or until hardened. Let sit out for 10 minutes and then process on milkshake setting.
- Add extra milk if needed and process again on respin.
- Add in mix ins and process on mix ins setting.
- Add additional toppings if desired and enjoy!

Lauren