
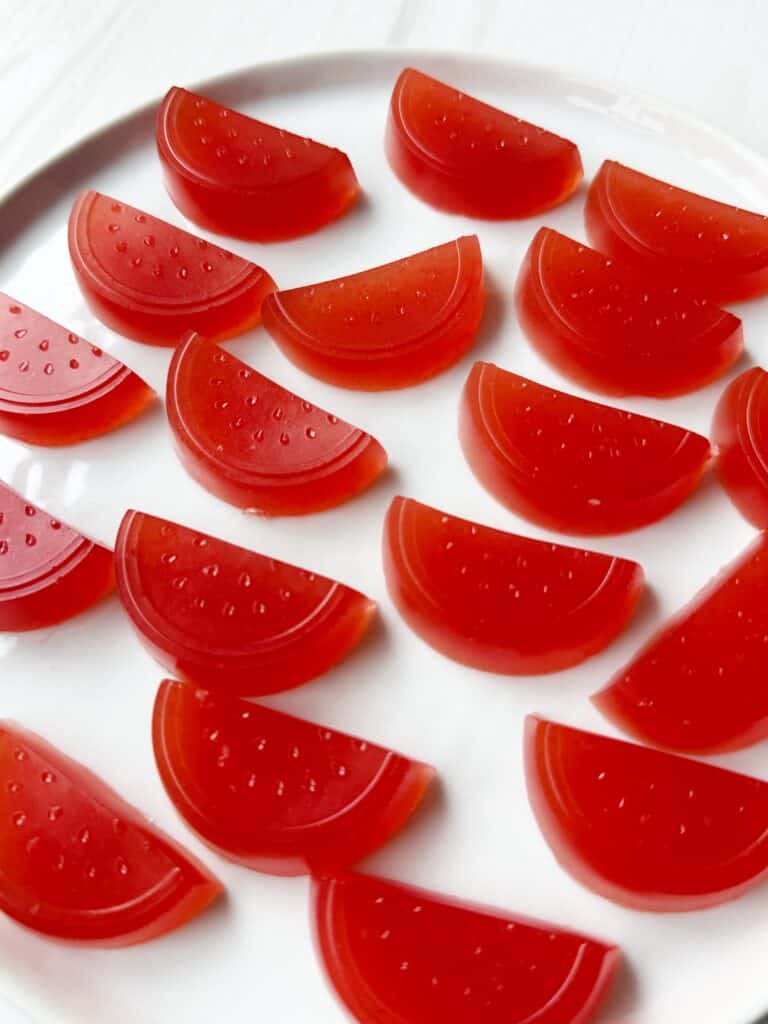
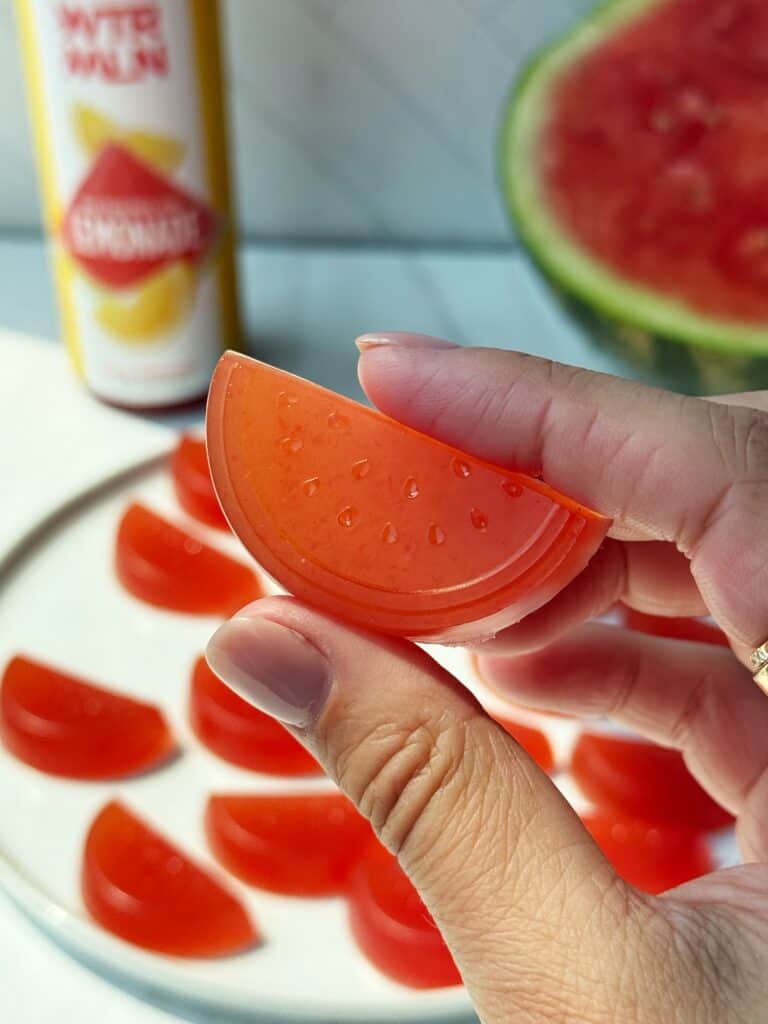
If you love fruit gummies but want a more wholesome version, my homemade watermelon gummies are about to become your absolute favorite! They are made with fresh fruit juice, real honey and pure gelatin. They are the perfect combination of sweet and tart with a juicy, chewy texture that candy lovers crave. Plus, they are made without any artificial colors or ingredients. This easy, 3-ingredient recipe is GMO-free, no sugar added and packed with real nutritional benefits like collagen for healthy digestion. Think of them as a nostalgic Sour Patch Kid copycat, but in a pretty pink color and with incredible health perks!
They're yummy, kid-friendly and make a fantastic lunchbox treat or anytime snack. Best of all, they're cheaper and healthier than gas station candies and you can enjoy them year-round as one of your go-to recipes for a classic candy with a wholesome upgrade. If you love this recipe, try my homemade Wellness Gummies, this Frose Recipe and my Nature's Gatorade recipe. For more treats, try any of these Gluten Free Summer Desserts.
Why You'll Love This Recipe
These Watermelon gummies are made with 3 simple and clean ingredients and no artificial additives.
They're perfect for a hands-on activity or healthy snack for little ones.
These fruity gummies are made with honey instead of refined sugar. Plus, you can control the level of sweetness.
They have a luscious, light and fruity flavor that's ideal for summer snacking.
You can easily swap in different juices or add natural colors.
Thanks to the gelatin, these gummies are packed with protein.the
I love that I can prepare a batch, refrigerate them and then reach for them all week.
Equipment Needed
For this recipe I used 2 gummy molds and a pot. You'll also need a spoon or whisk.
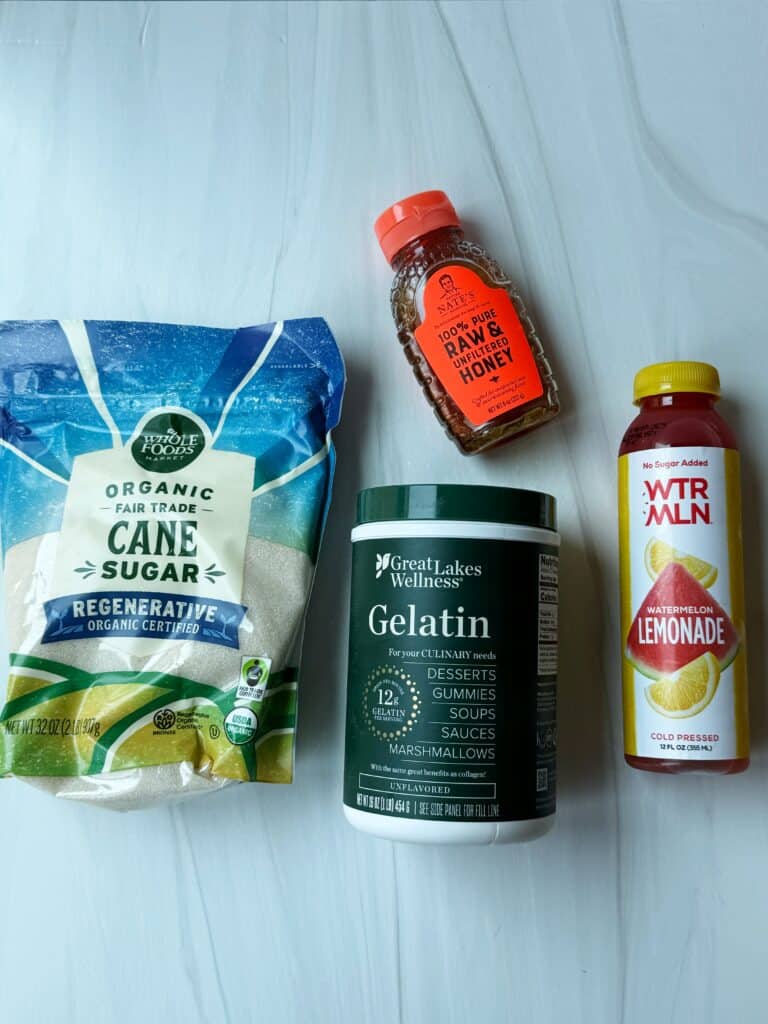
Ingredients Needed
Watermelon lemonade: I adore the flavor of watermelon lemonade. You can use any brand you like.
Gelatin: Go for unsweetened, plain gelatin powder. I like to use a high-quality grass-fed gelatin.
Honey: To add a little sweetness. You can add more or less to make them sweeter or less sweet.
Step By Step Instructions
Step 1: Start by gathering all your ingredients and tools before you begin making your delicious homemade Watermelon Gummies. Having everything measured out and ready to go will make the process smooth and stress-free.
Step 2: Next, take a medium-sized saucepan and pour in the watermelon lemonade. Sprinkle the gelatin evenly over the surface of the liquid. This allows it to bloom, which means it will absorb the liquid and hydrate properly. Let this mixture sit for about 5 minutes or so.
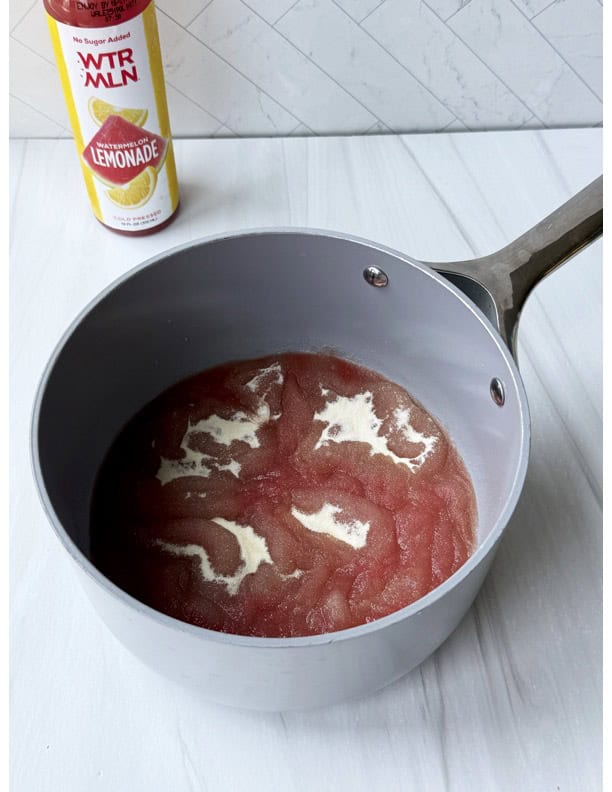
Step 3: After blooming, place the saucepan over low to medium heat. Warm the mixture slowly, stirring occasionally, until the gelatin completely dissolves and the liquid is smooth and thin. At this point, stir in the honey for a touch of sweetness.

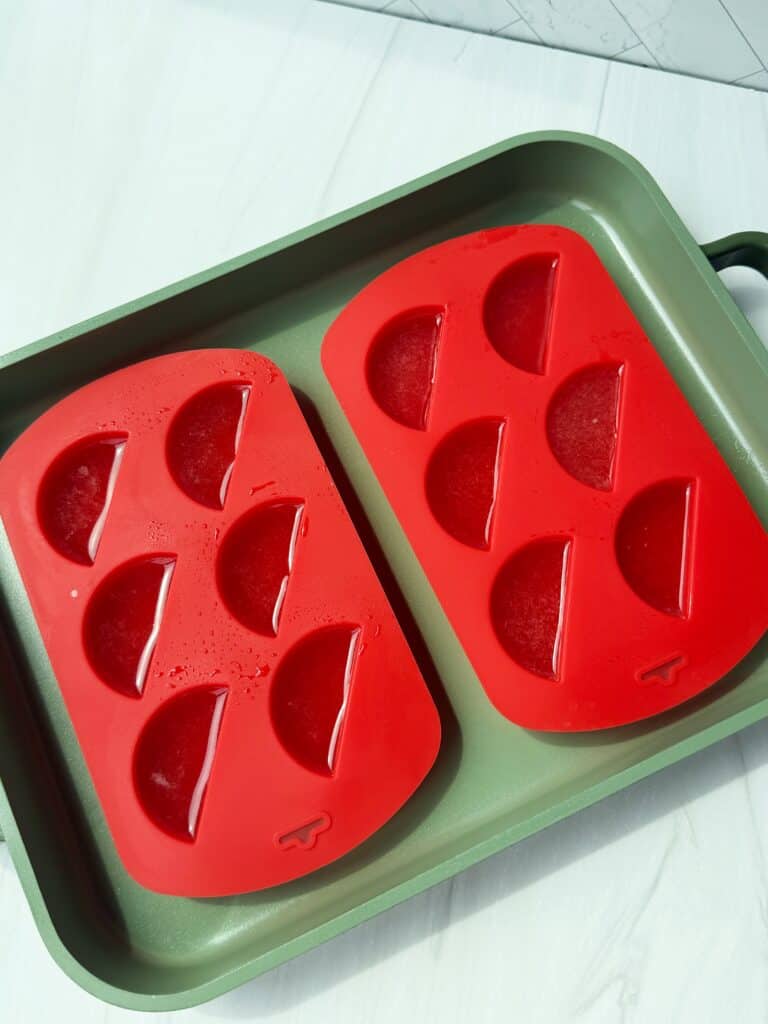
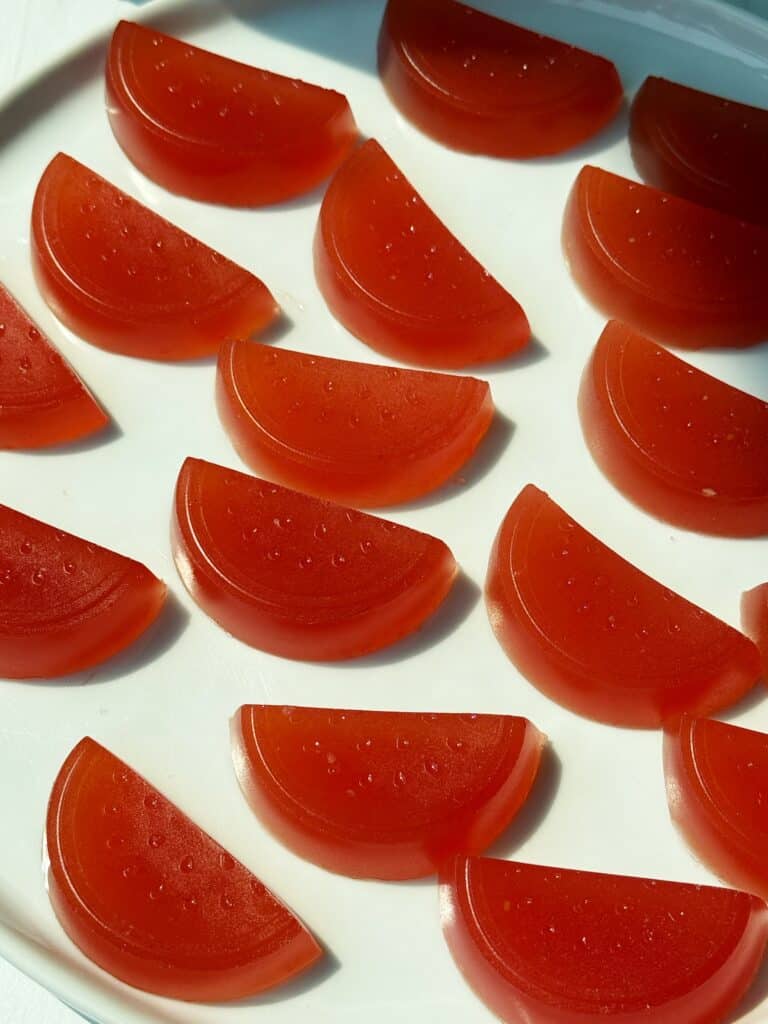
Step 4: Once everything is well combined, carefully pour the liquid mixture into your silicone gummy molds. Smooth out any bubbles, then transfer the molds to the refrigerator. Leave the gummies to chill for at least 2 hours, or until they have completely firmed up. Pop them out and they're ready!
Storage
I store my Watermelon Gummies in an airtight container in the refrigerator for 7 to 10 days. A great trick is to lightly dust the gummies with cornstarch or arrowroot powder before storing to prevent them from sticking together. Trust me on this one!
These homemade gummies can be frozen for up to 2 months. To freeze them safely, place them on a parchment-lined tray to freeze them individually, then transfer to a freezer-safe bag. Thaw them in the fridge before eating them.
Variations
Swap out the flavors: Swap watermelon lemonade for strawberry lemonade, peach juice or orange juice.
Sweetener options: Instead of honey try using maple syrup, agave nectar or monk fruit syrup in your Watermelon Gummies.
Boost the nutrition: Add in a teaspoon of vitamin C powder, collagen peptides or a some freshly squeezed lemon juice. I love that I can turn these into little wellness giving treats!
Change the colors: Mix in a few drops of natural food coloring or fruit puree to change the colors.
How To Serve
Here's how I'll use my Watermelon Gummies:
- Pile them into a jar as a gift for a friend!
- Take them to a potluck as a dessert item.
- Pile them onto a dessert platter with fresh berries, watermelon cubes, nuts and chocolates.
Recipe FAQ
What are the ingredients in watermelon gummies?
These gummies are made with watermelon lemonade, gelatin and honey.
Can I coat them in sugar?
Yes, you can! I recommend making sure the gummies are totally dry before coating them in sugar.
How long do these stay good for?
If you store them correctly, they'll be good for 7 to 10 days.
What kind of gelatin should I use?
Use unflavored gelatin (like a grass-fed gelatin brand). Flavored gelatin won't work well because it already contains sugar and coloring.
Can I make this with a different fruit?
Yes, you can. Swap the watermelon lemonade with another type of flavored lemonade or fruit juice.
What if my gummies don't set?
If your gummies stay soft, it usually means not enough gelatin or the mixture wasn't cooked long enough to dissolve the gelatin fully. If this happens, just re-melt the mixture over low heat, add an extra 1-2 tablespoons of gelatin. Let it chill again and they should set.
Related Recipes
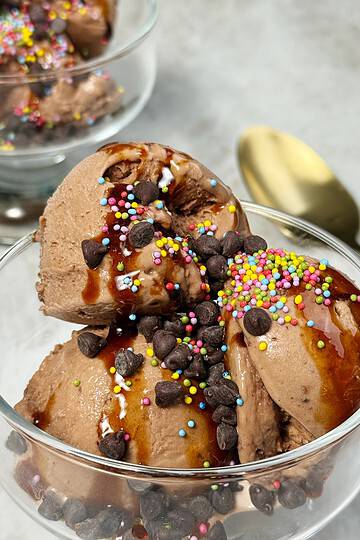
Be sure to try these fun sweet treat ideas next:
Strawberry Gluten Free Crumble
If you make these Watermelon Gummies and love them, I would really appreciate a 5 star review! I also love seeing your creations so please tag me on Instagram or TikTok.
Want to Save This Recipe?
Enter your email & I'll send it to your inbox. Plus, get weekly gluten-free and dairy-free meal ideas and grocery lists delivered straight to your inbox every Friday!
By submitting this form, you consent to receive emails from Less with Laur
Watermelon Gummies
Equipment
- 2 gummy molds
- pot
- Spoon or whisk
Ingredients
- 2 cups watermelon lemonade
- 6 tbsp gelatin
- 2 tbsp honey
Instructions
- Gather your ingredients.
- Add watermelon lemonade and gelatin to a pot and let sit for 5 minutes.
- Cook over low-medium heat until the mixture thins and then add honey.
- Pour mixture into gummy molds.
- Refrigerate until firm.

Lauren
Seema
Hi
Love your recipes. We don’t have watermelon lemonade so what do you suggest! Would homemade watermelon lemonade work?
Thanks
Seema
Lauren
yes definitely!
QPbmCRVM
1